First of all, id like to thank @MeltInk for giving me the opportunity to test their 2.85mm filaments.
I received 3 colors for trial. Grey-PLA, White PLA/PHA & Black PLA/PHA. During measurements, very little deviation in filament diameters was noticed.
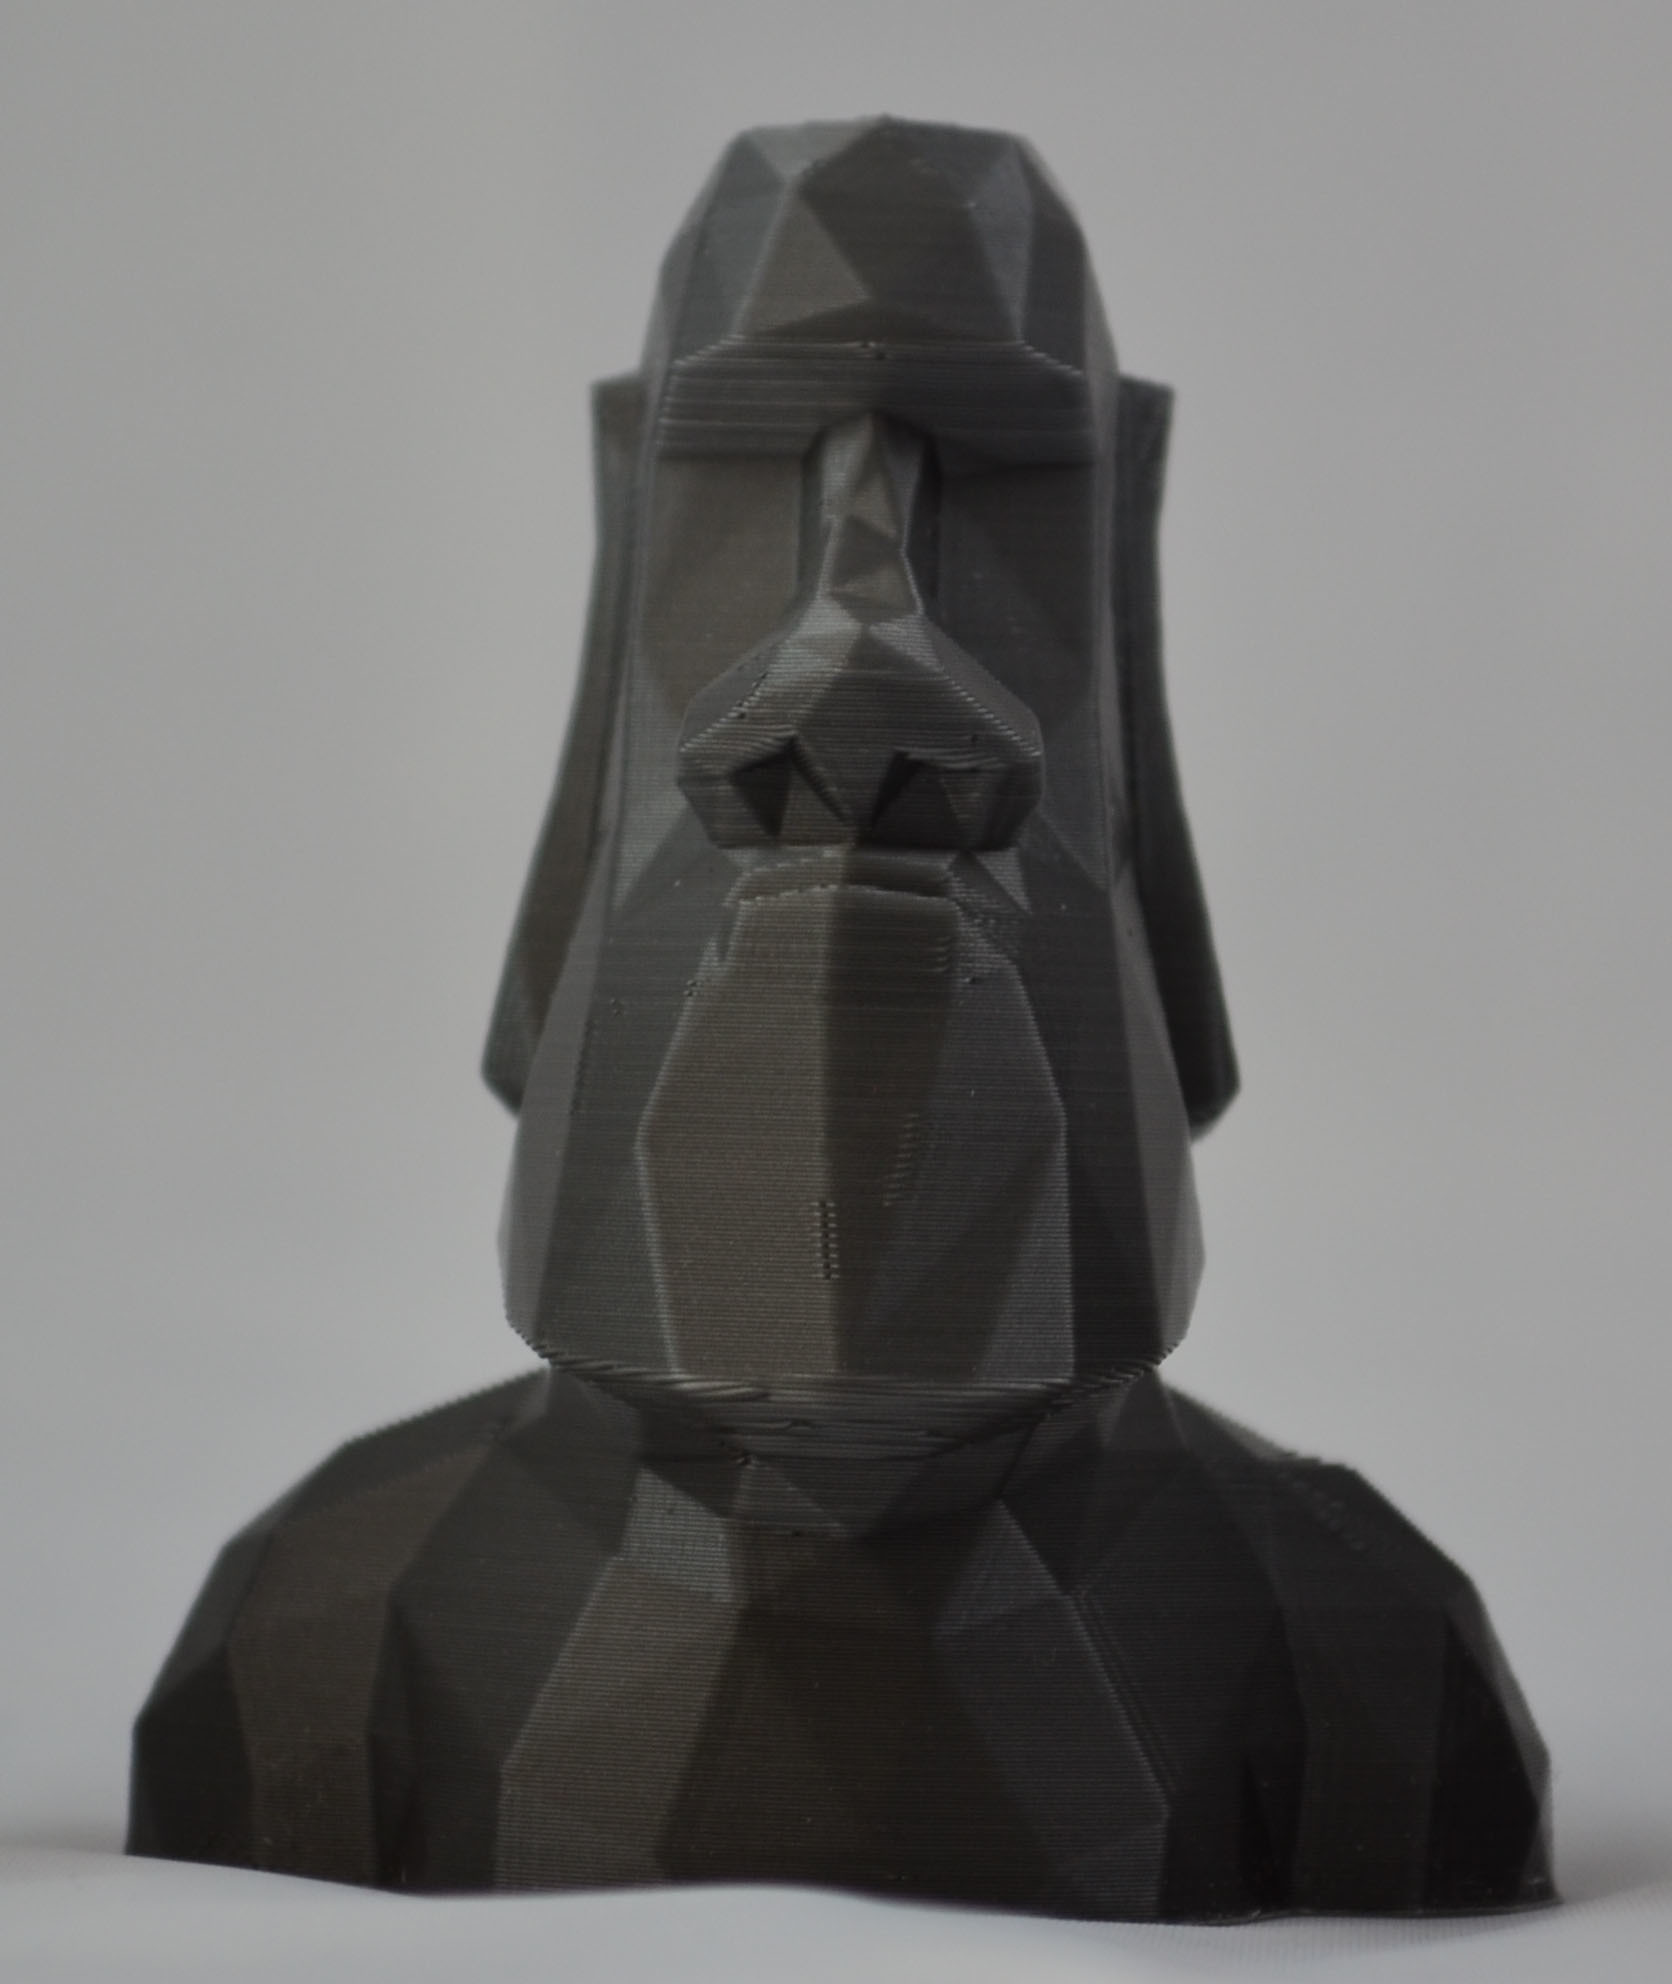
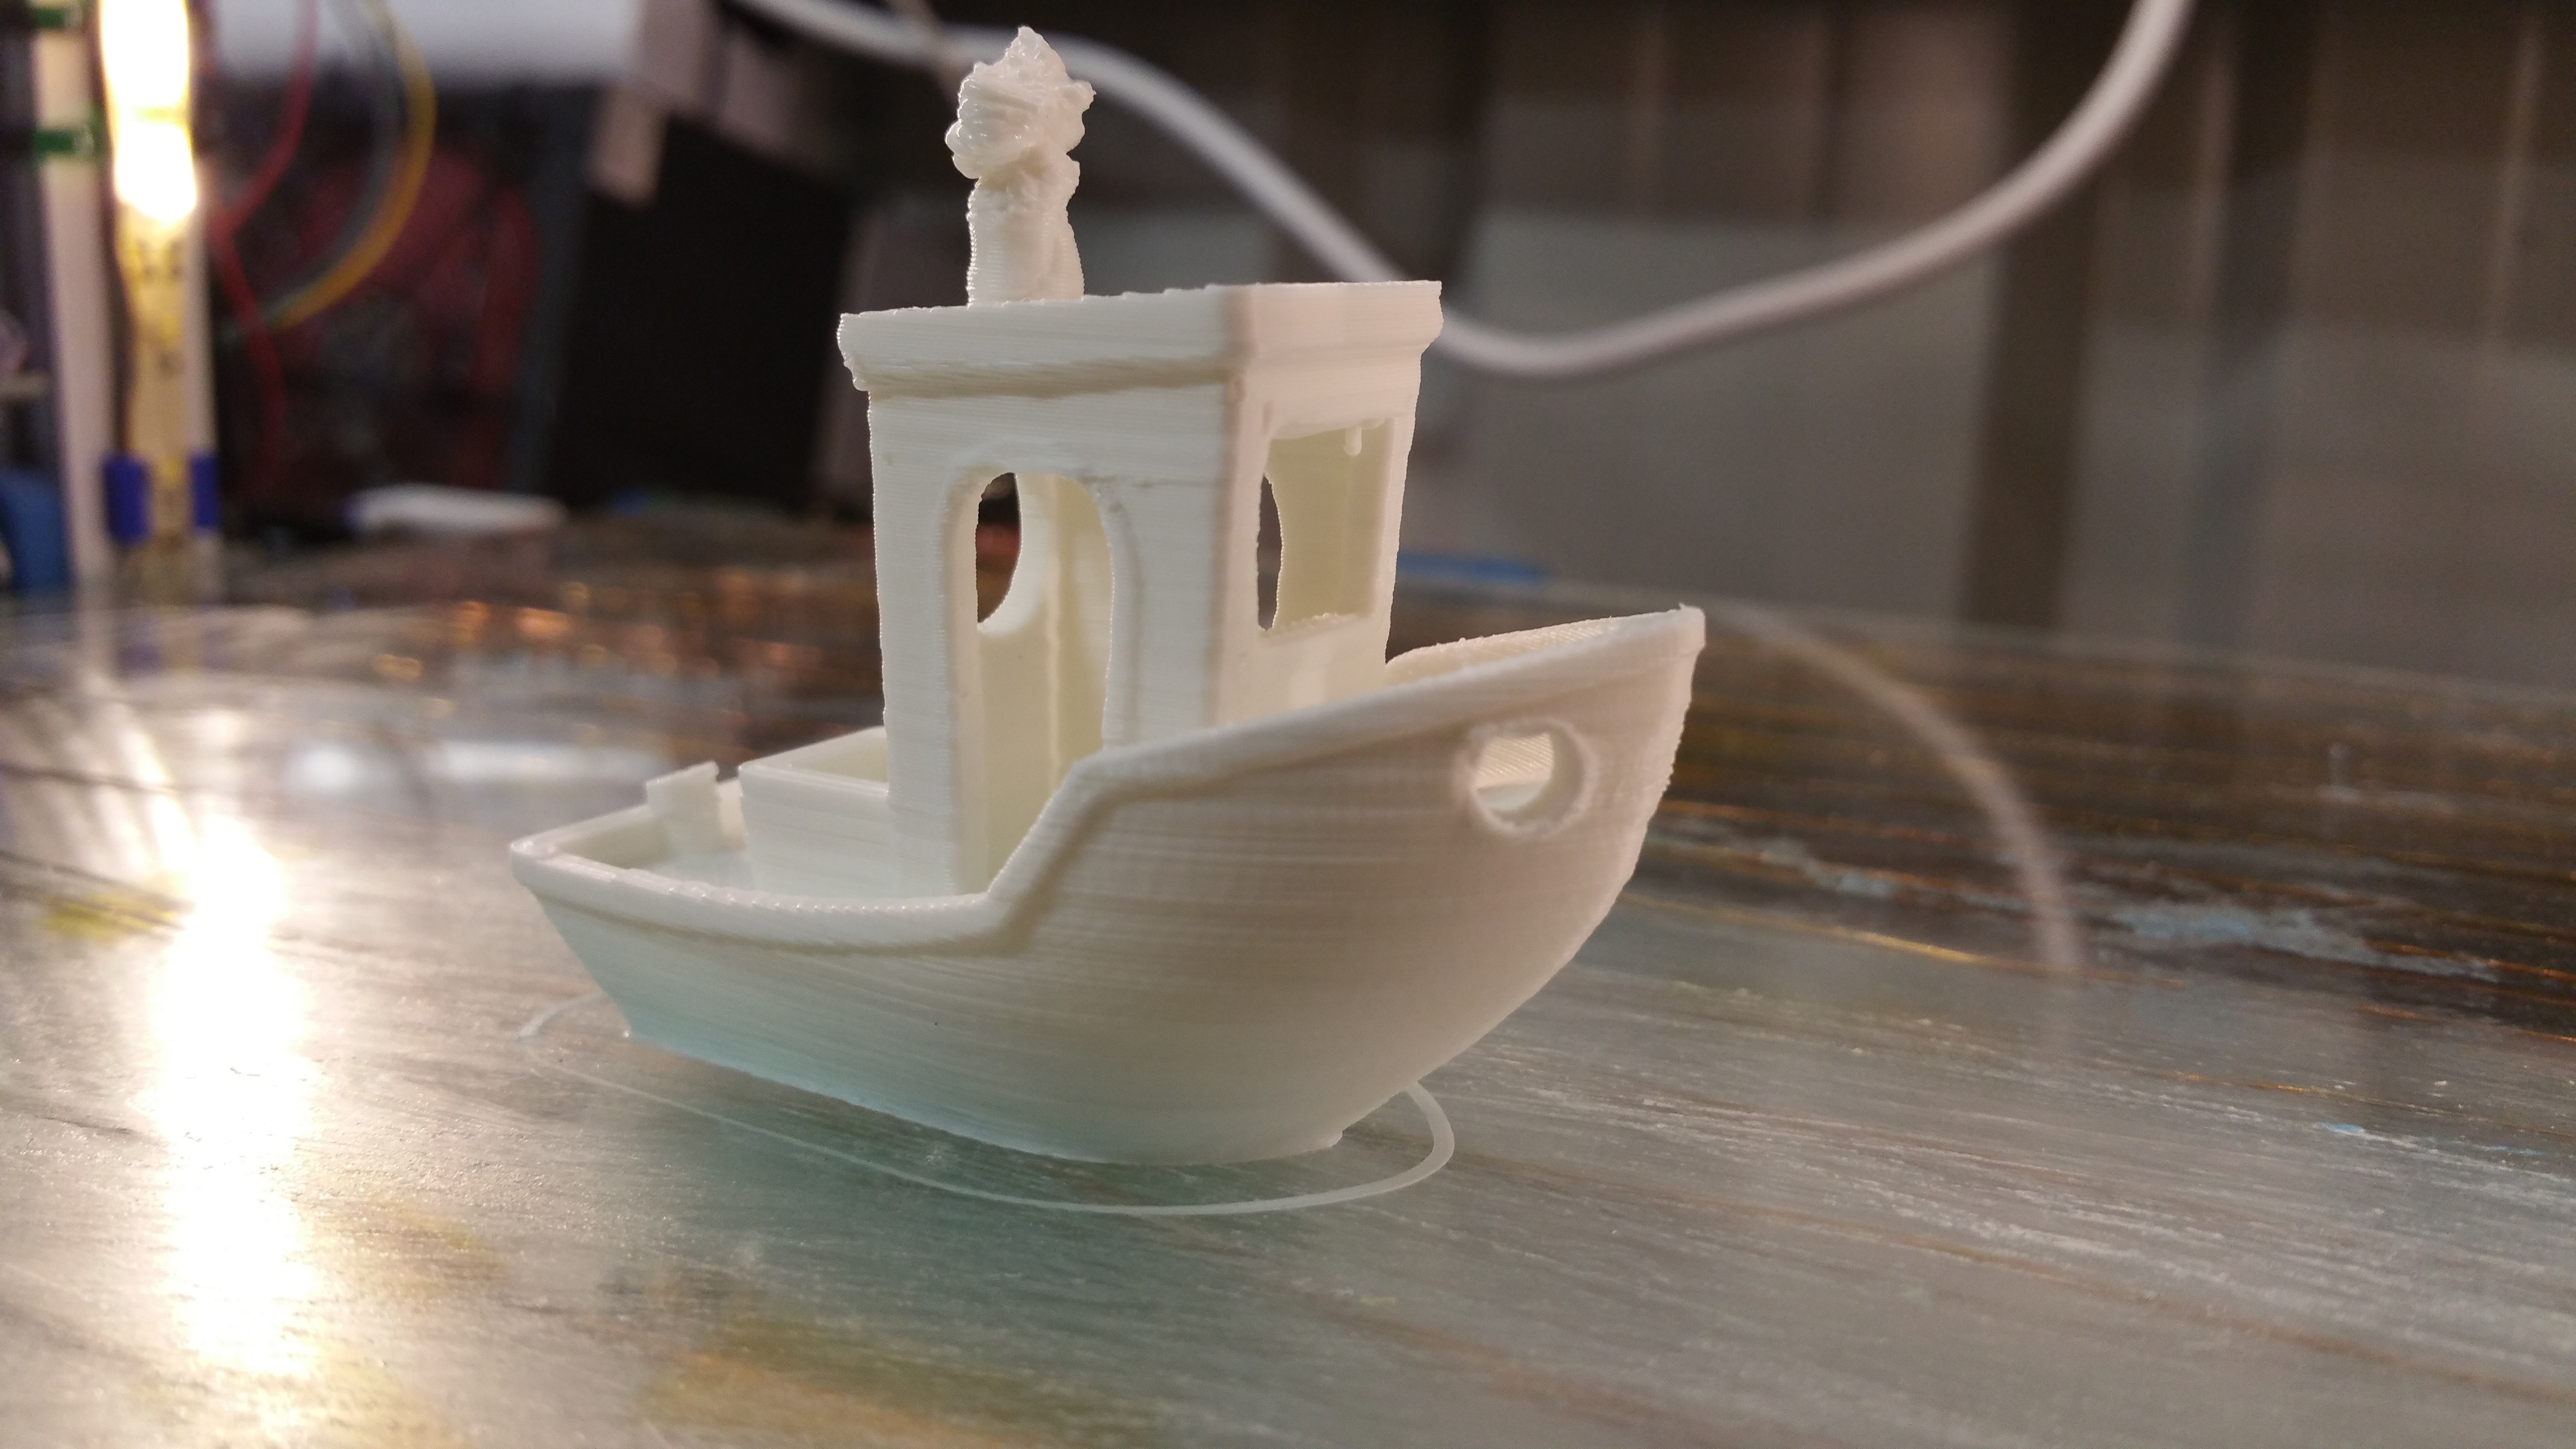
Grey PLA:
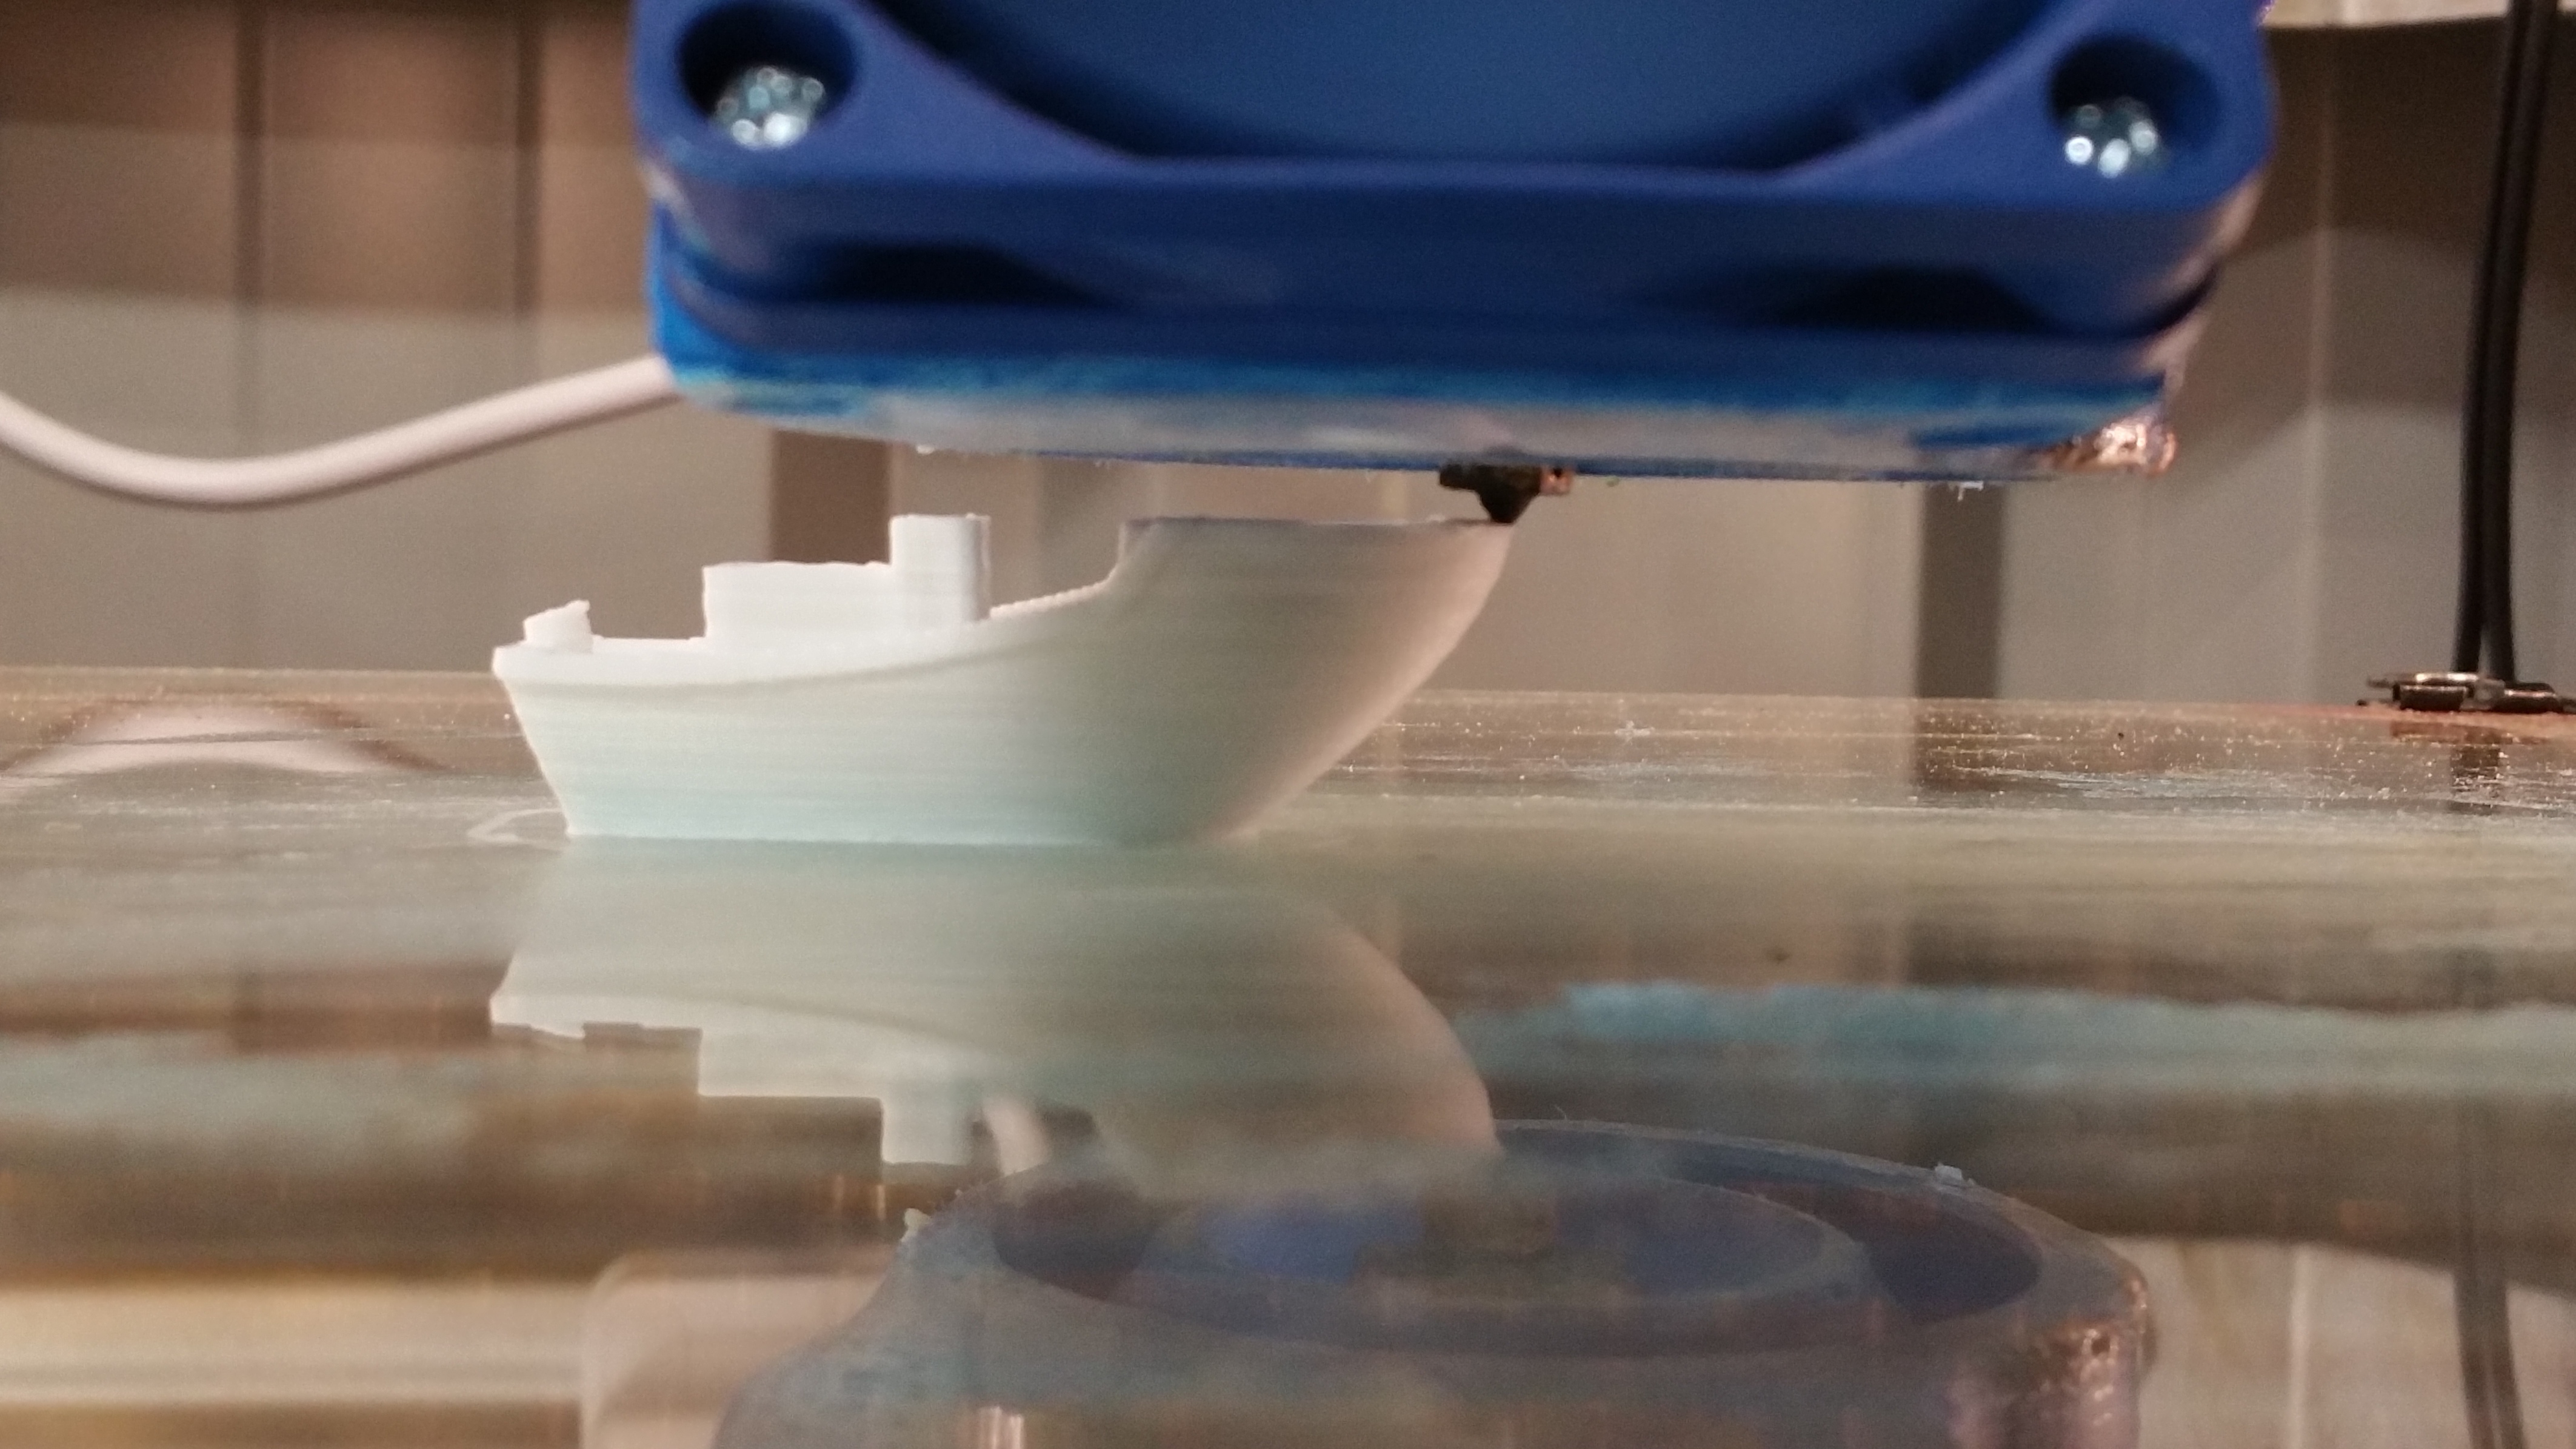
Printed on Lulzbot Mini:
215º print head temp / 40º Bed temp
I used my typical PLA settings and it went very good. It was very easy to load this filament and proceed with printing.
Id have to dial in my start points a little bit better as a small cavity is present over other filaments I have used. Not a big deal.
Bed adhesion on the PEI sheet was very good. The suggested temperature seemed to be very close for my printer which was great.
To compare with the PLA/PHA filaments below, when free extruding this Grey PLA to purge my extruder, cooled filament that came out of my .5mm nozzle was being measured at ~.5mm. More on this in the following 2 tests.

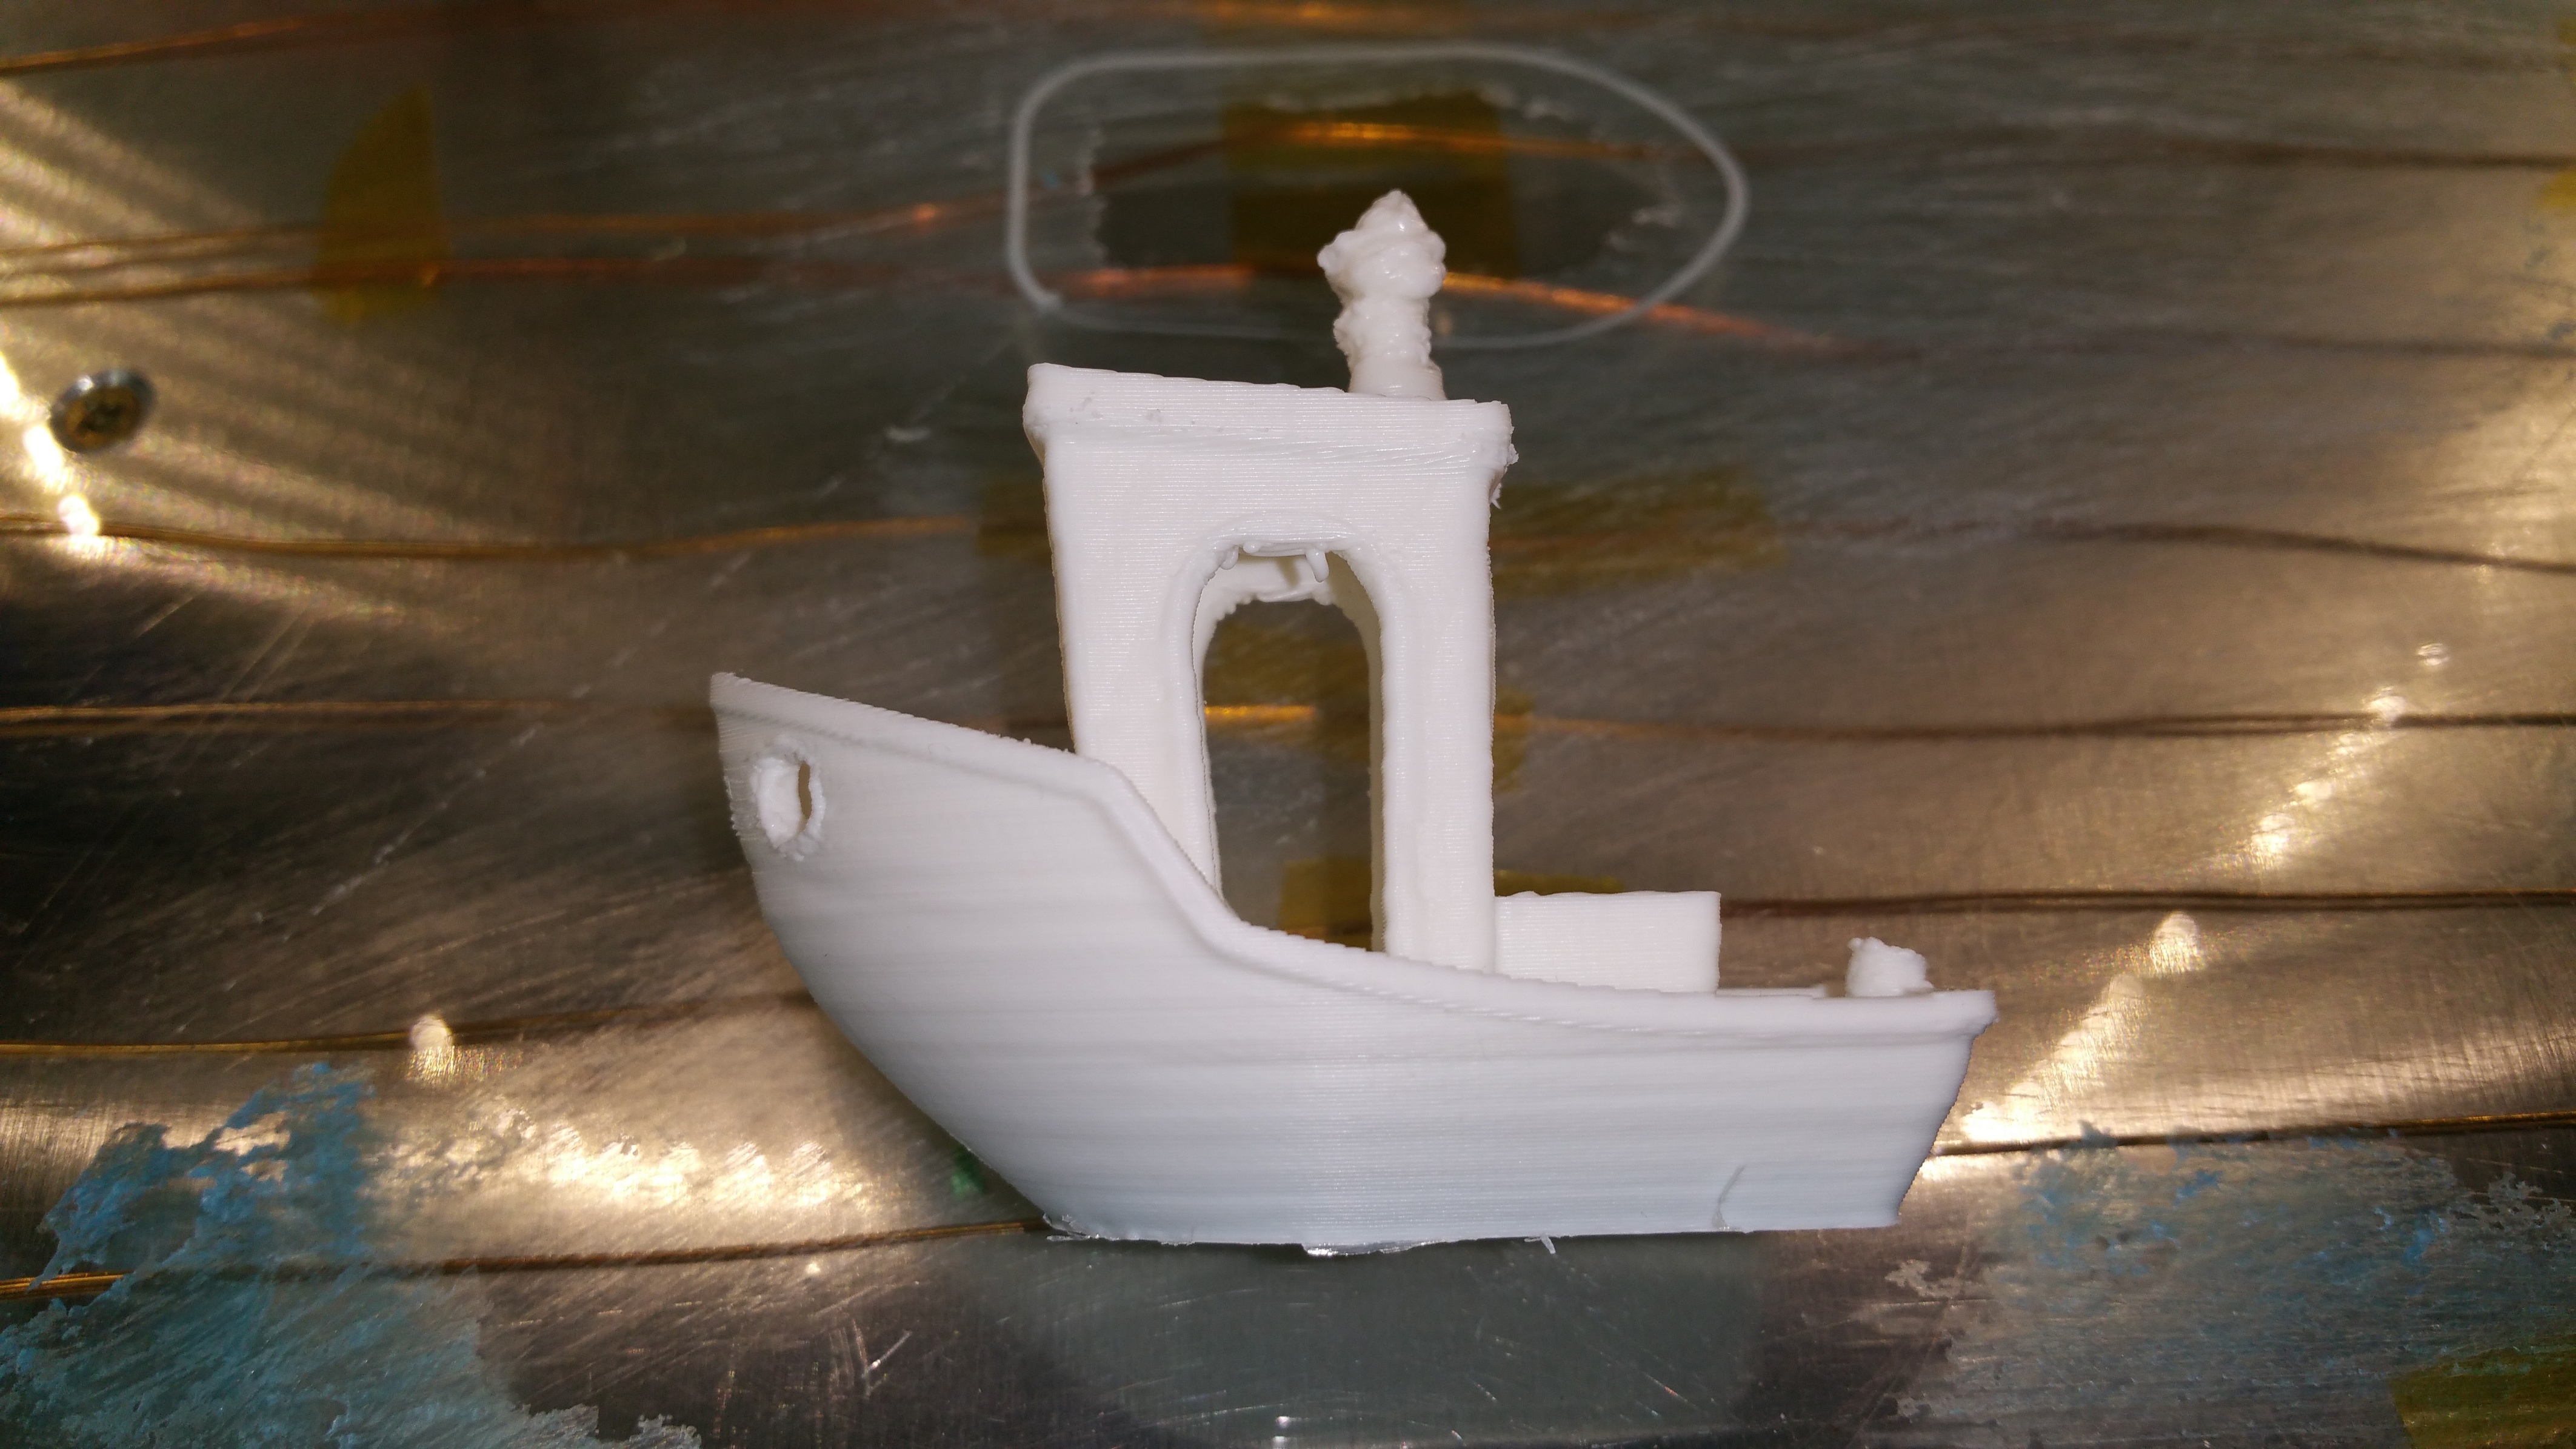
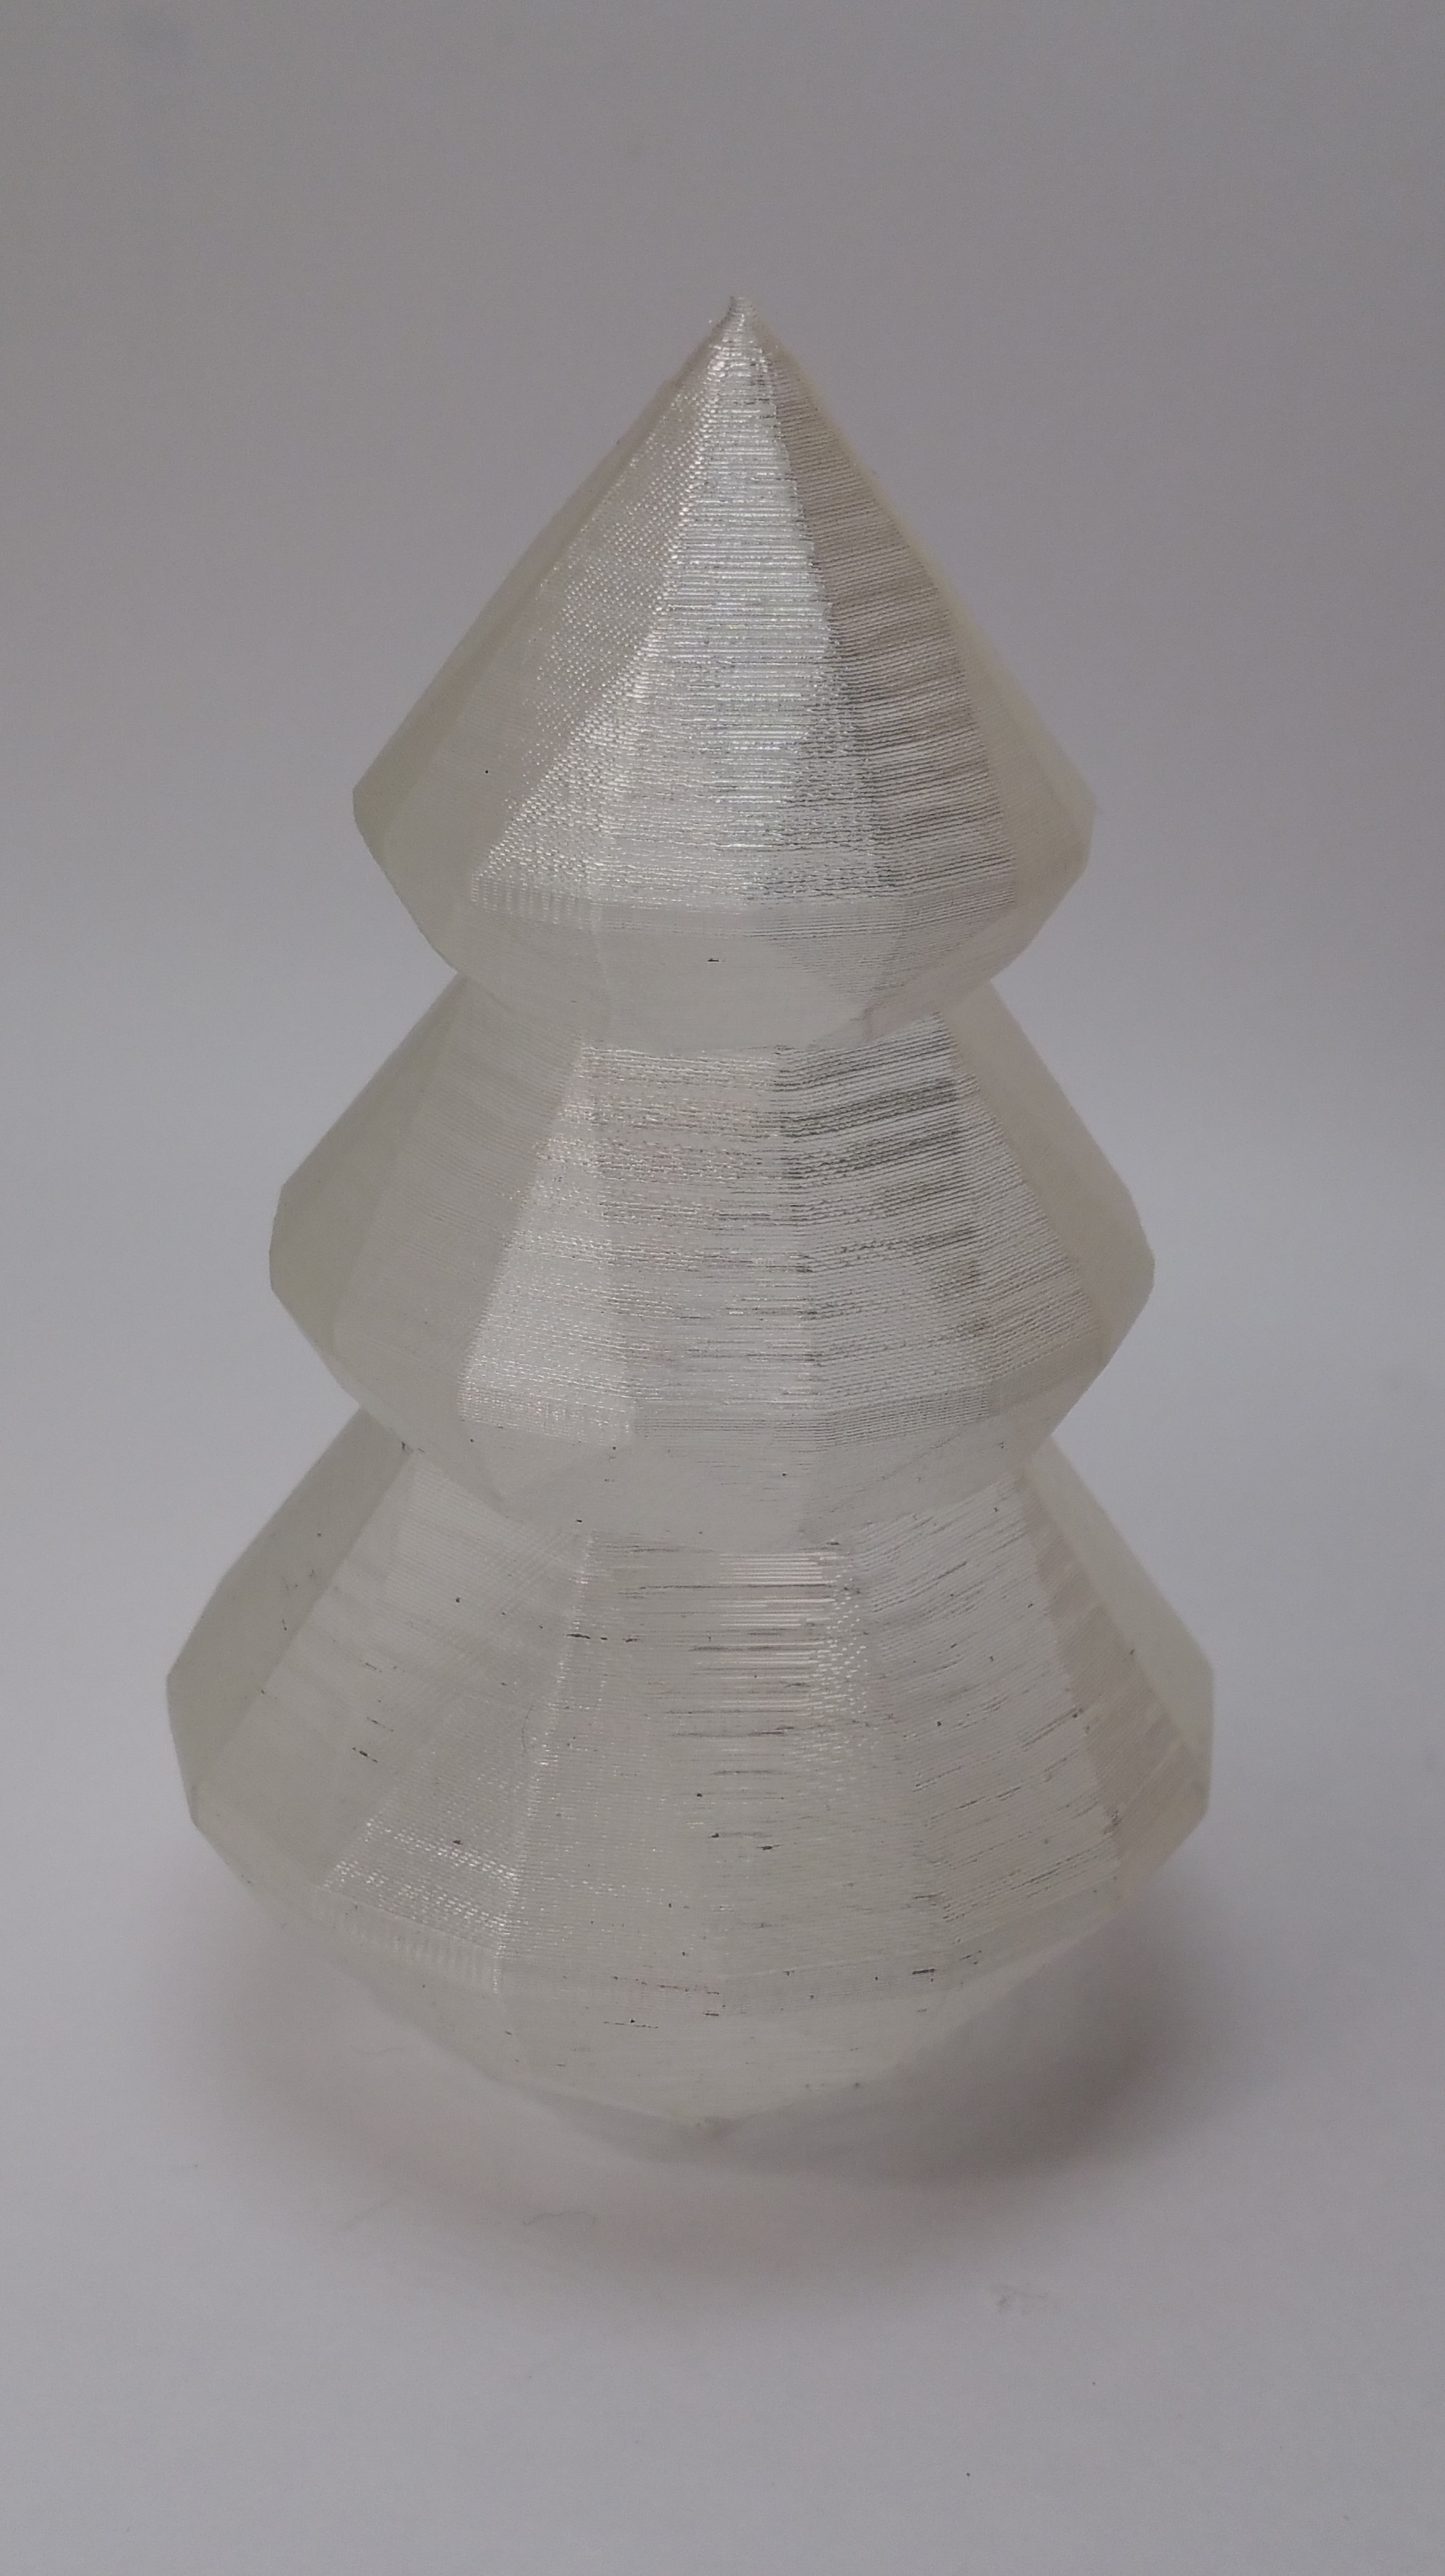
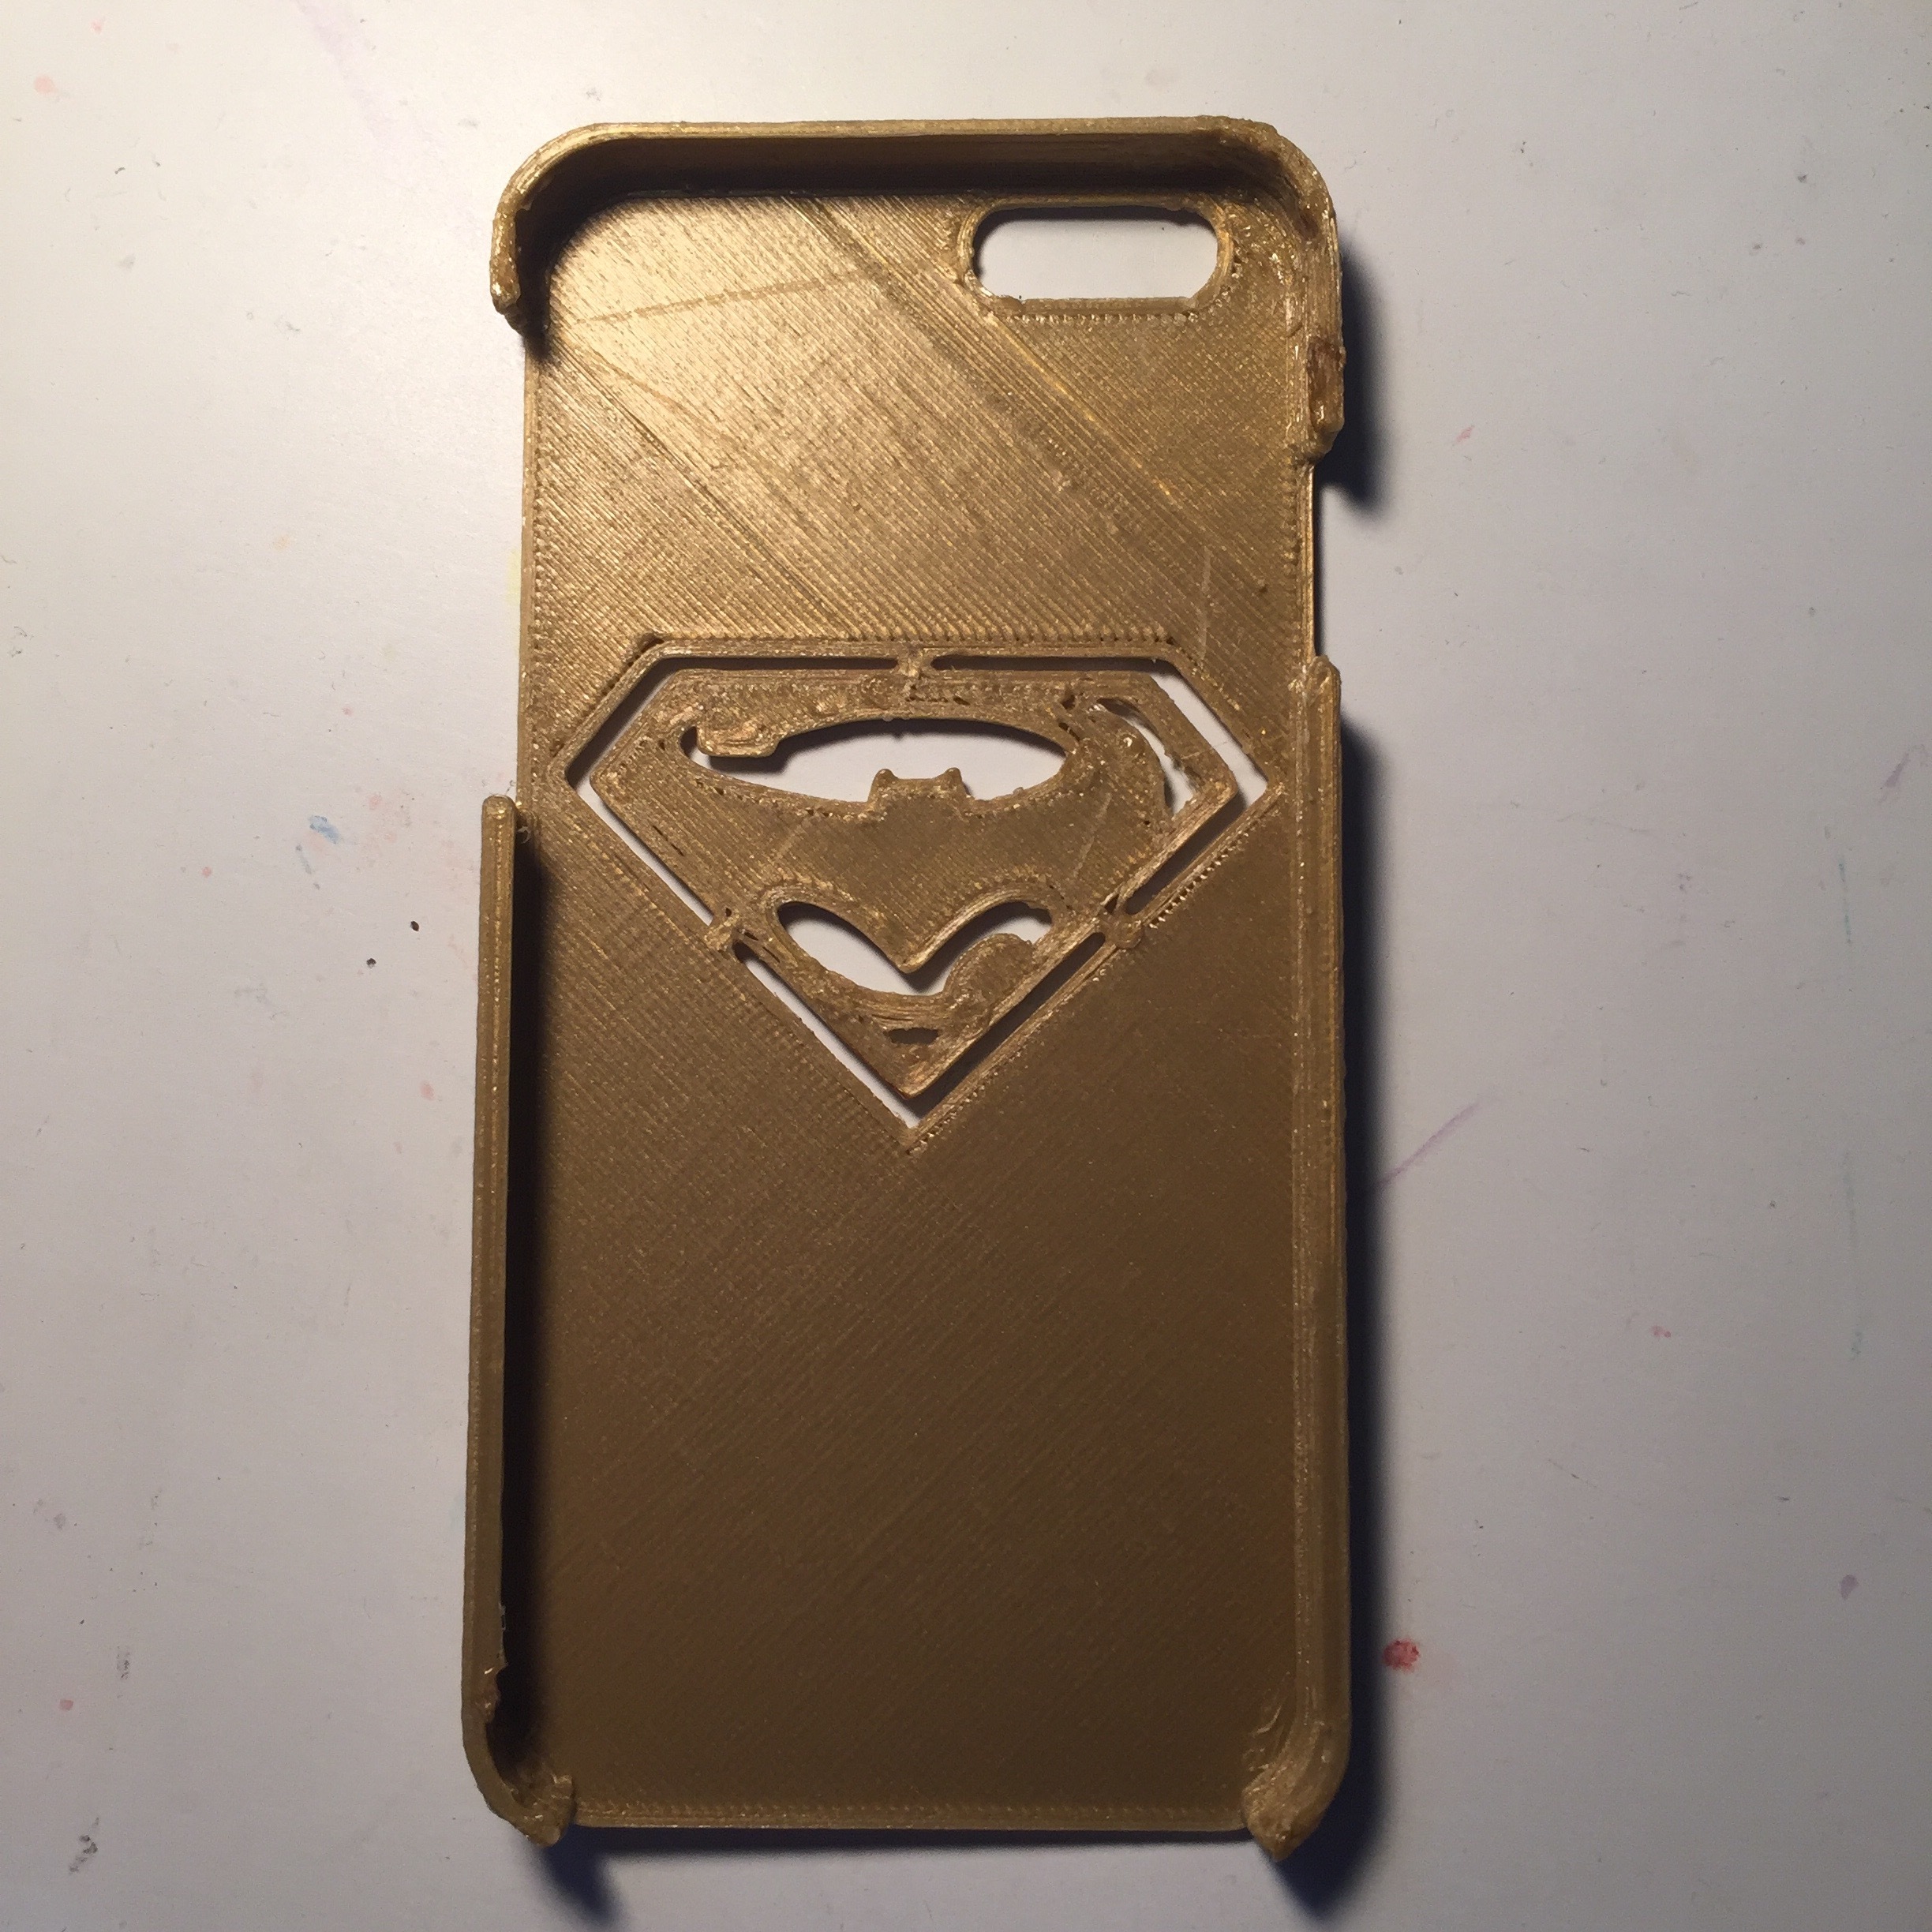
White PLA/PHA:
Printed on Lulzbot Mini:
230º print head temp / 65º Bed temp
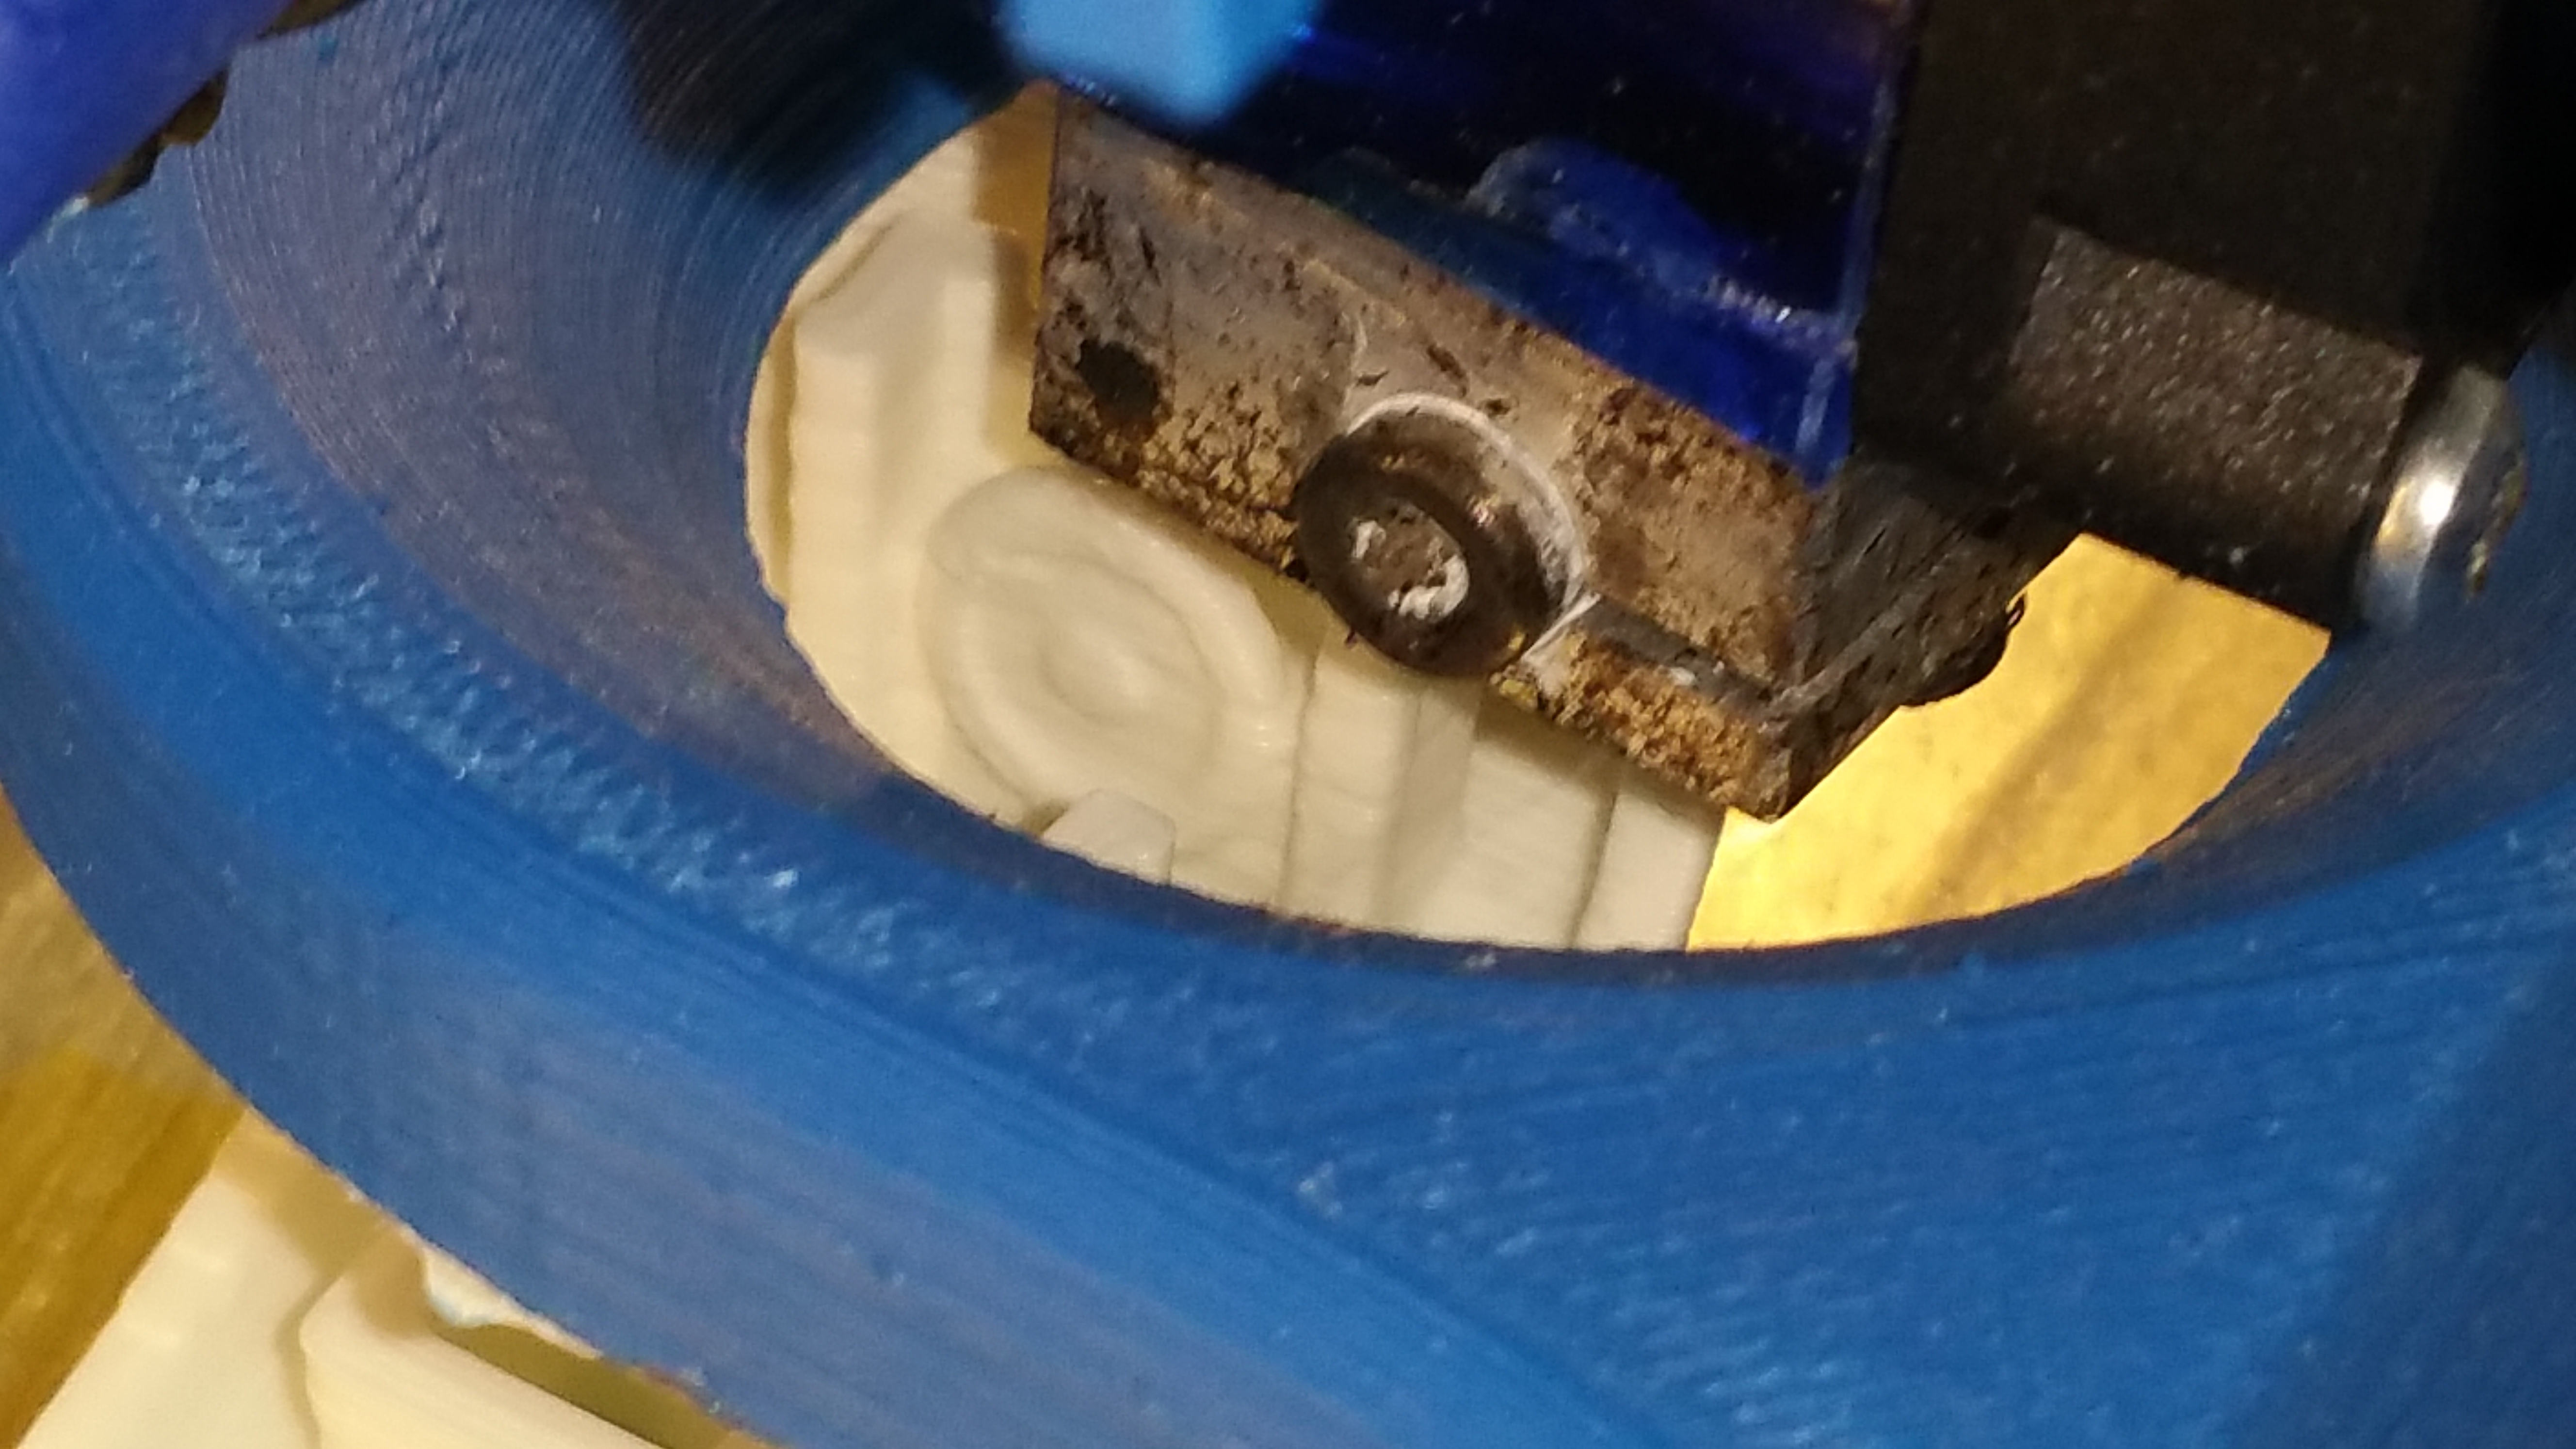
During my typical free extrusion when loading a new filament I noticed the white PLA/PHA seemed to ‘puff’ out during extruding. I will typically run 40-50mm of the new filament through to ensure I push out all of the old filament. I tried numerous temperature changes but couldn’t get rid of this puffing. I have a .5mm nozzle and after the extruded filament cooled I was able to measure it at about 1.1mm. My guess is that this is a characteristic of PHA?
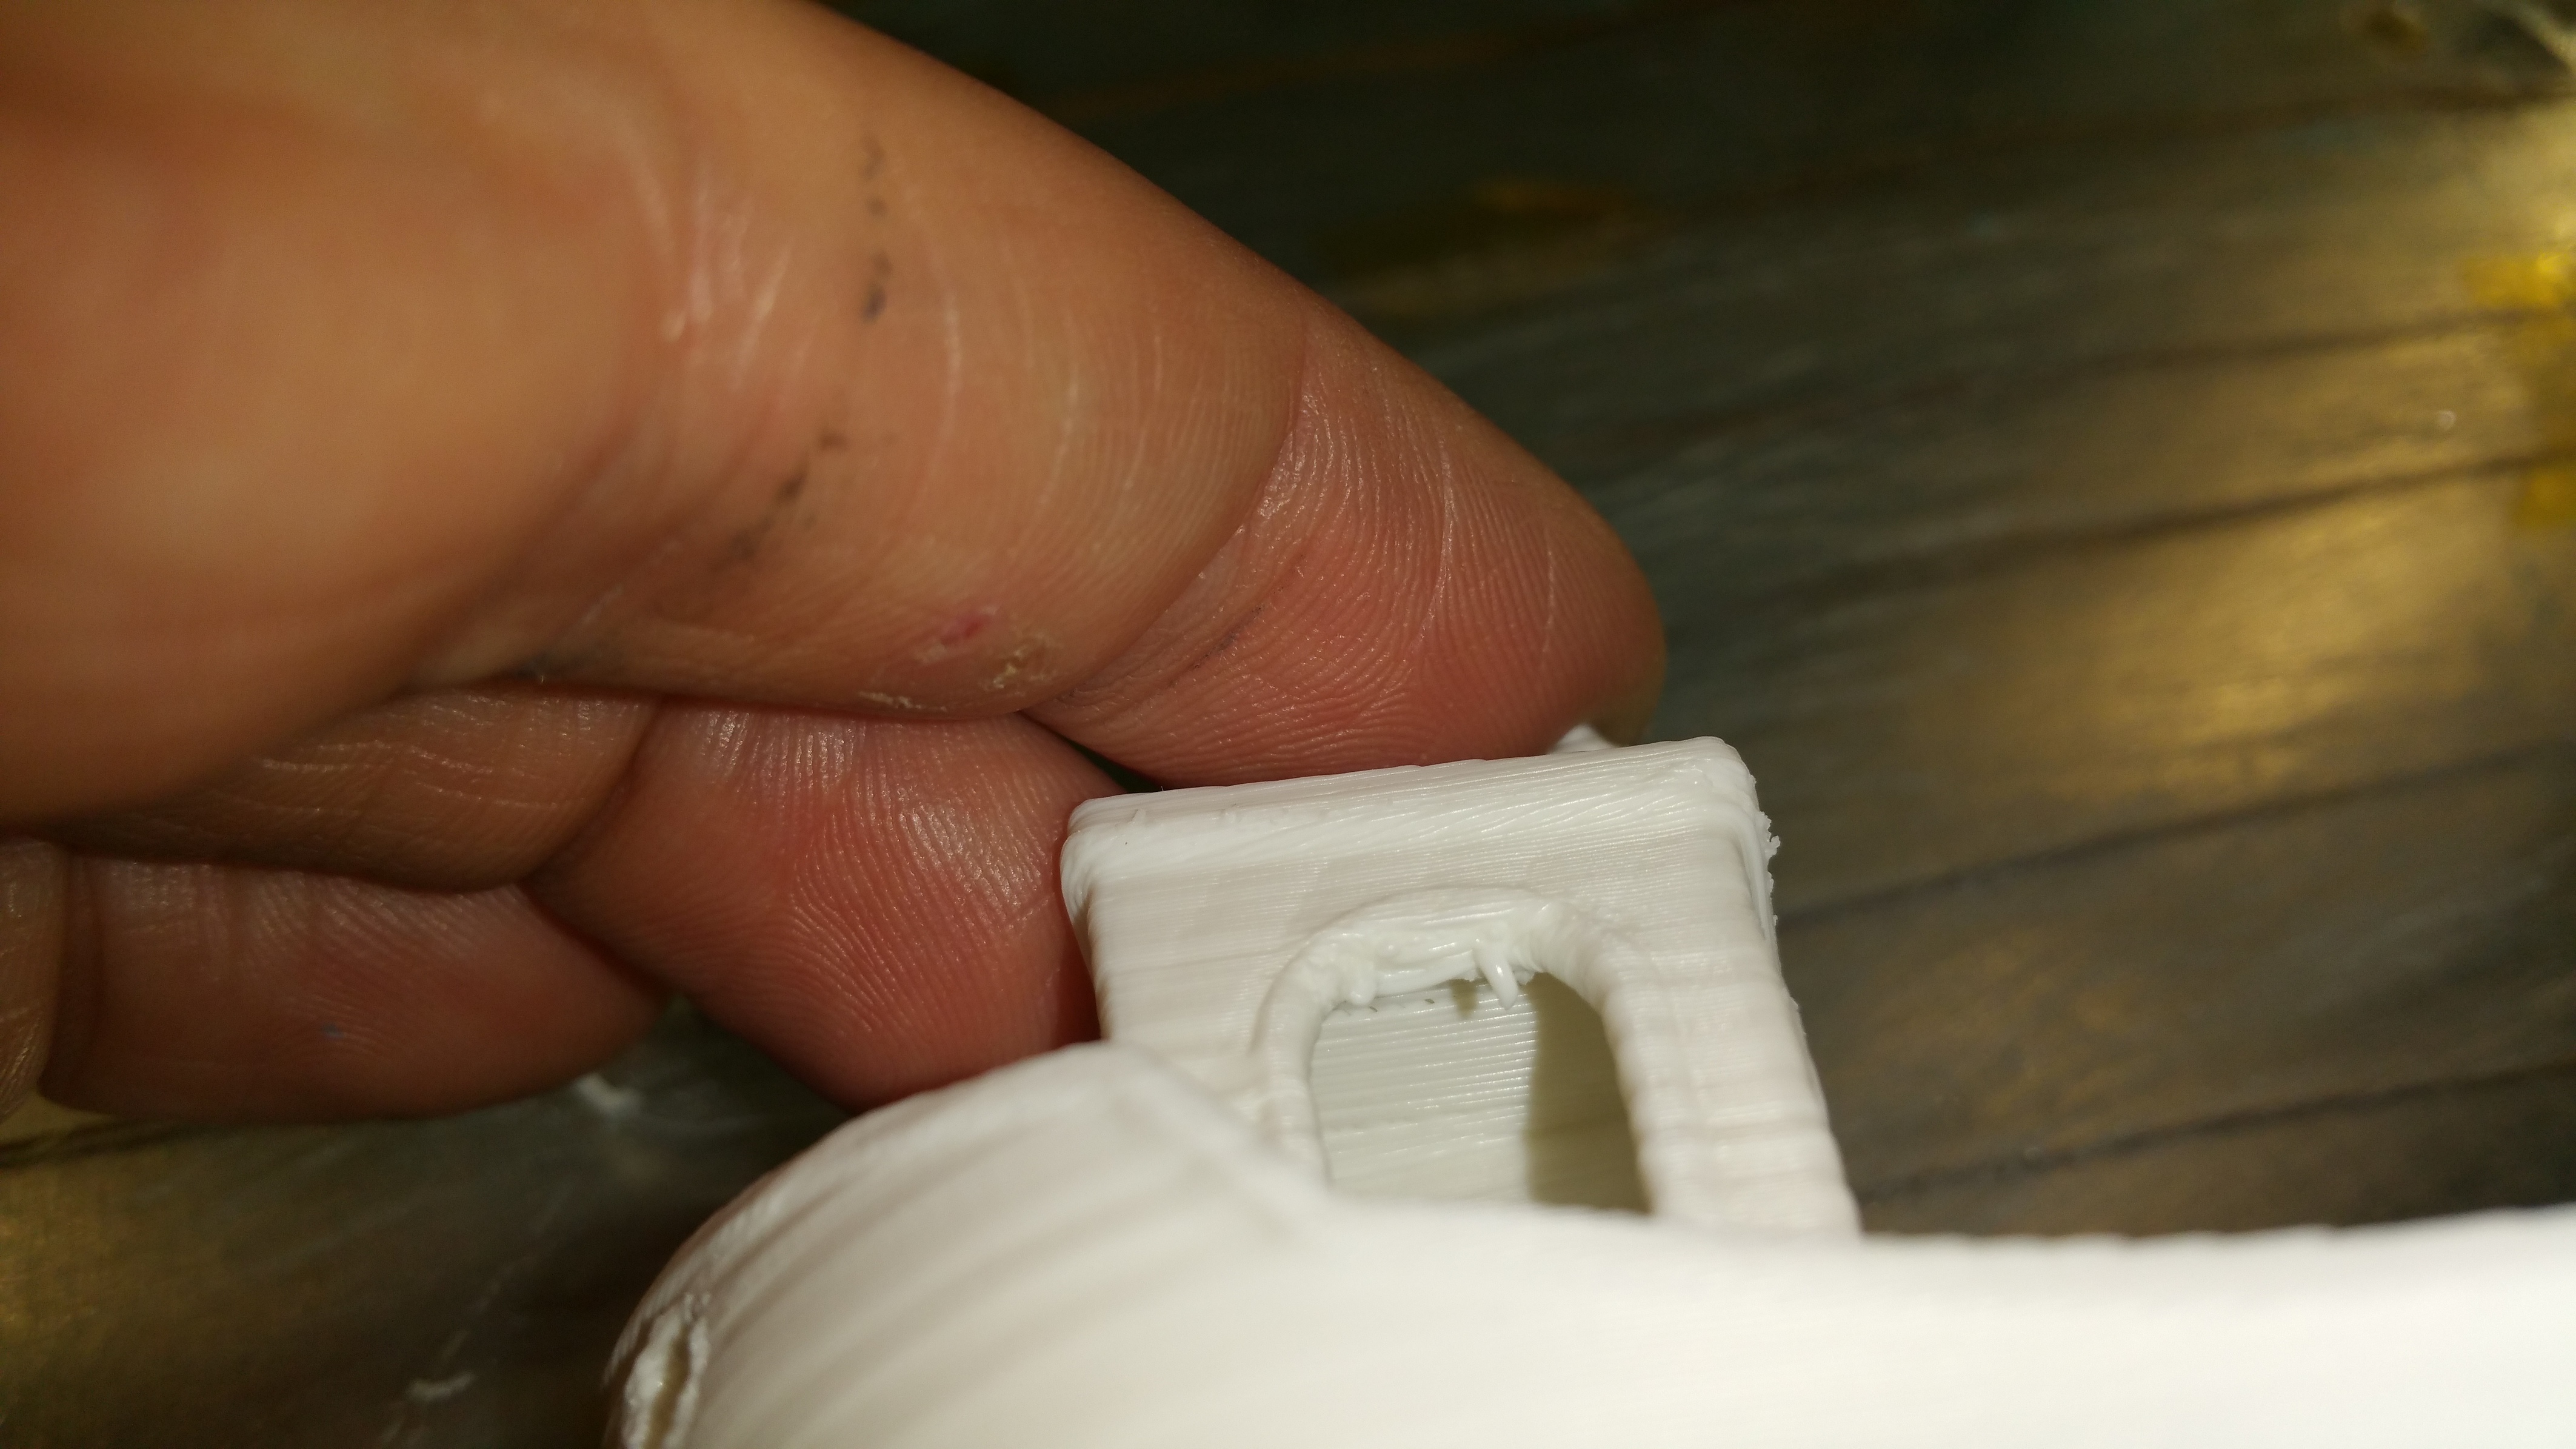
I decided on the above temperatures and went ahead with the print. I again used my PLA settings and the results weren’t that bad actually. I was expecting some issues due to this puffing. I did get slight issues with layer striations being more noticeable, the chin overhang was also a bit sloppy.
Bed adhesion with the White PLA/PHA was good. No issues.

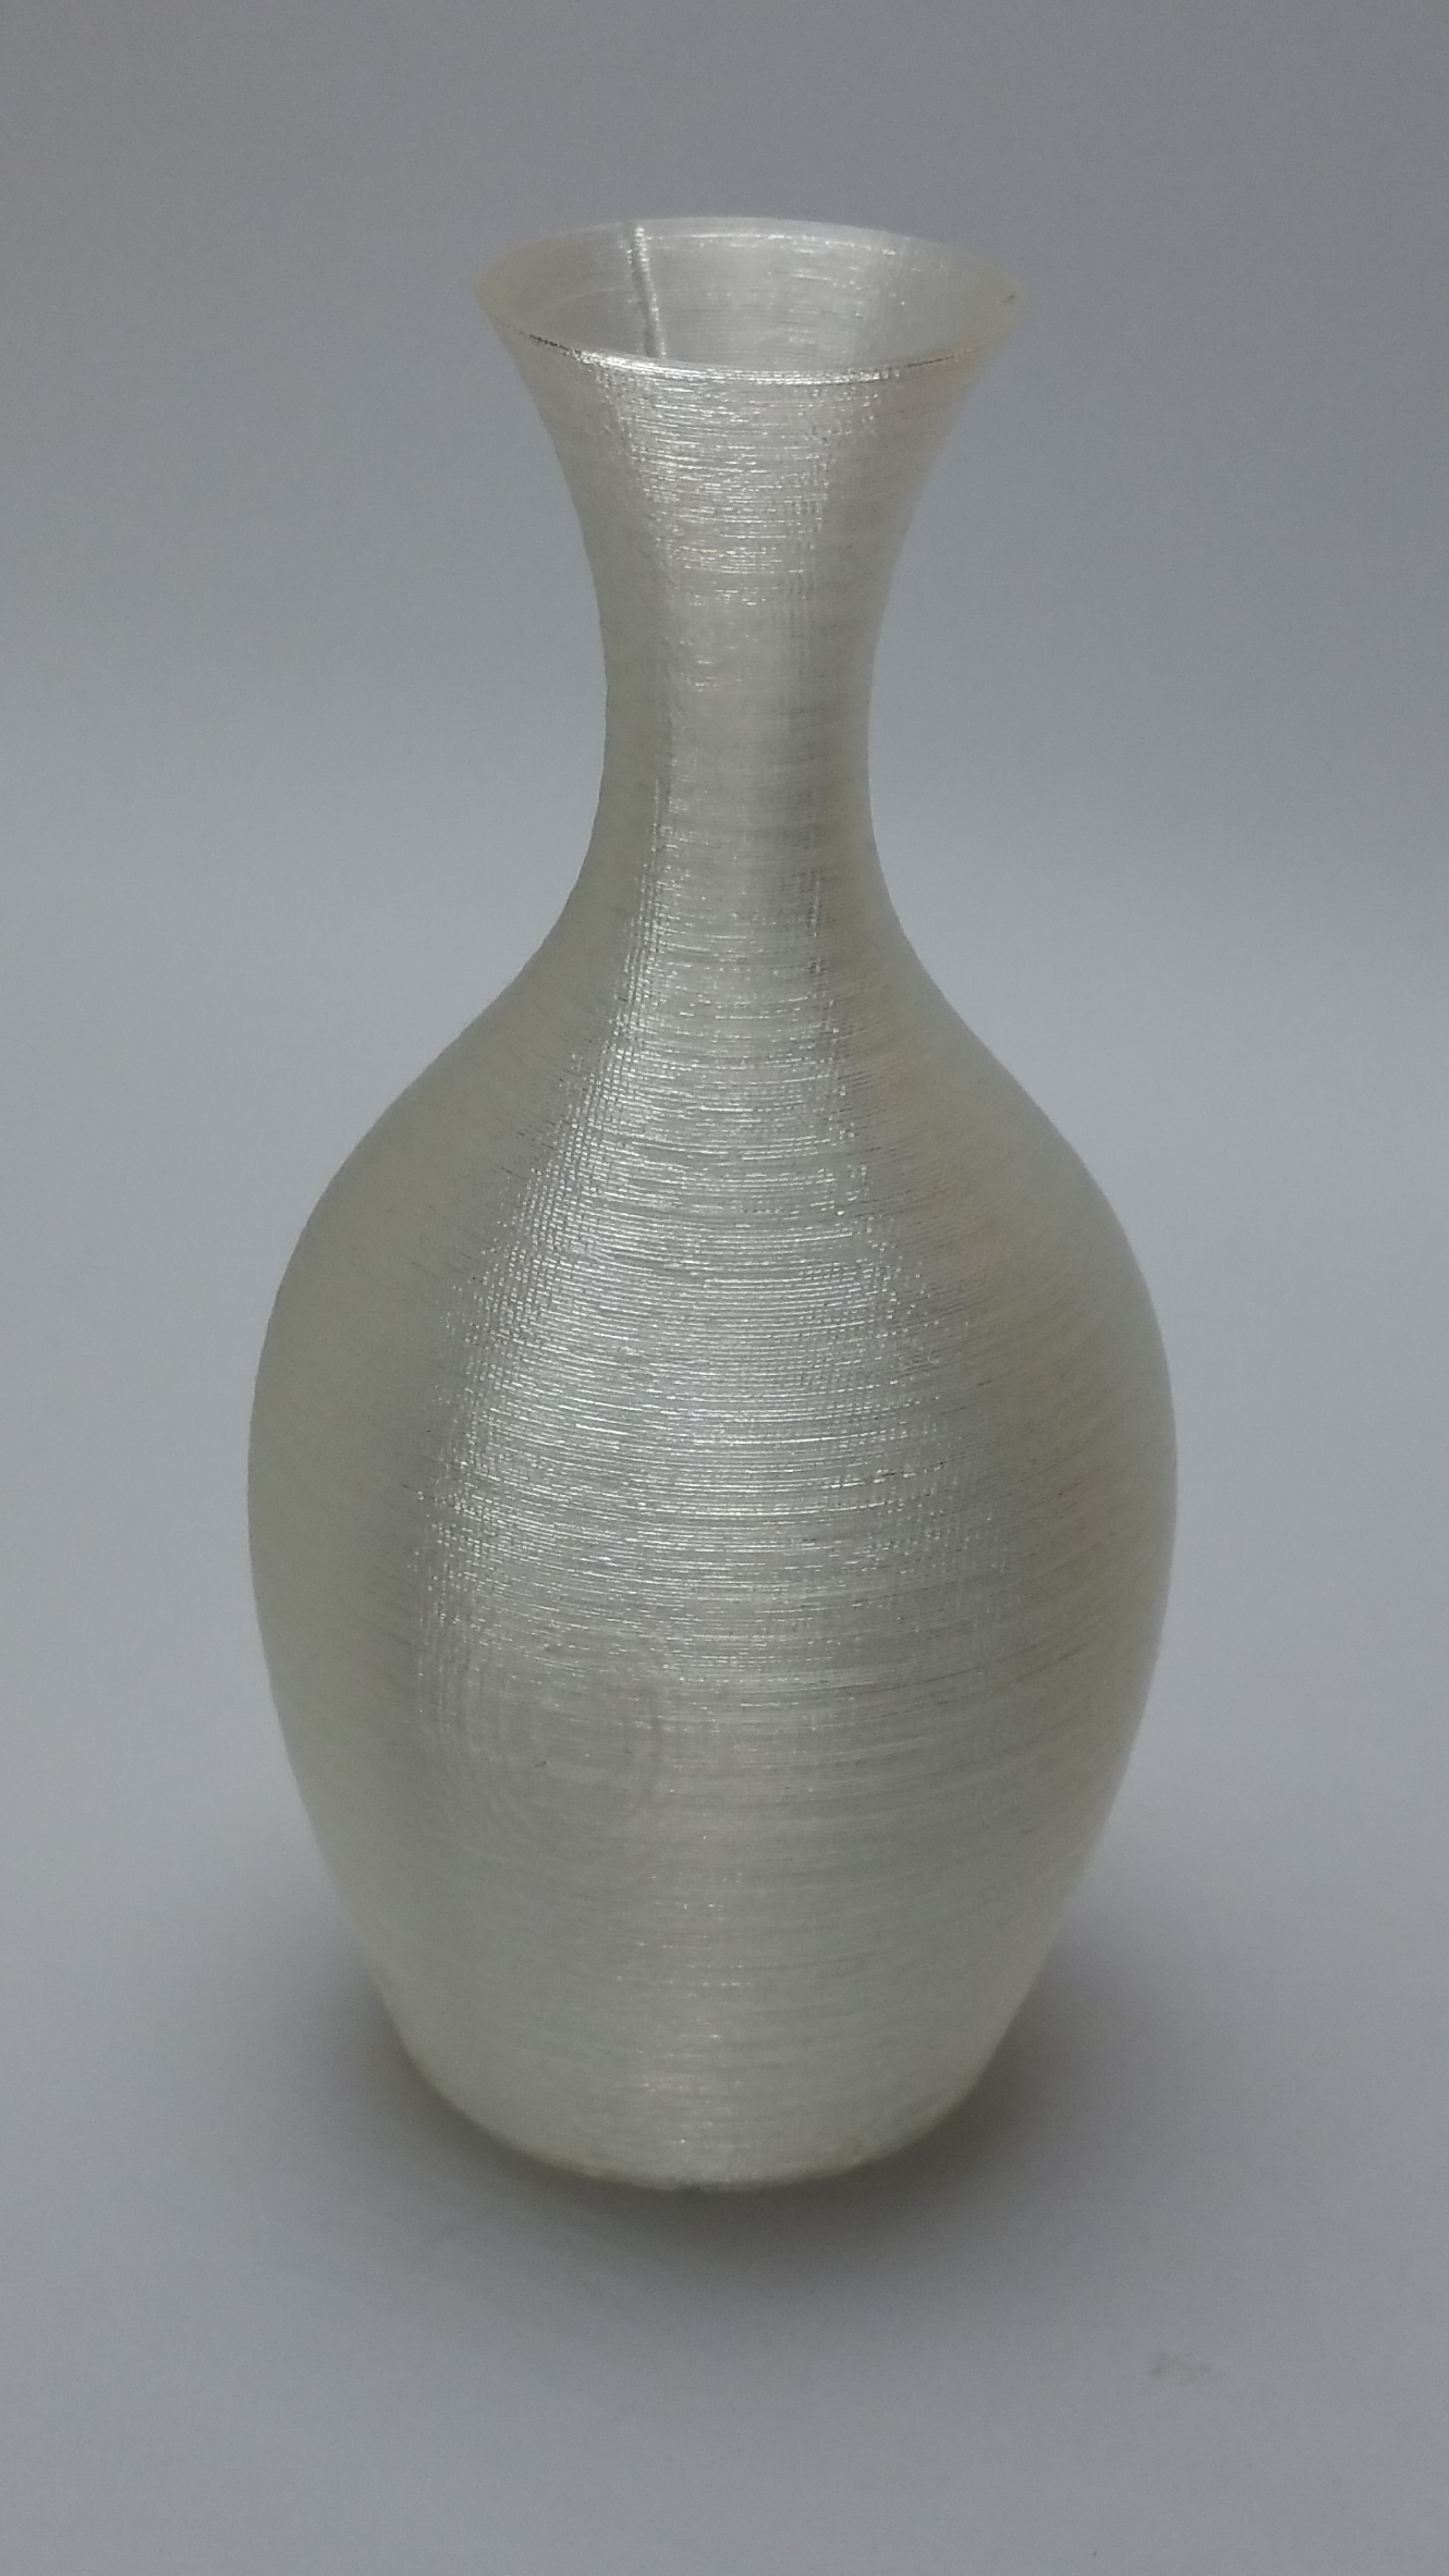
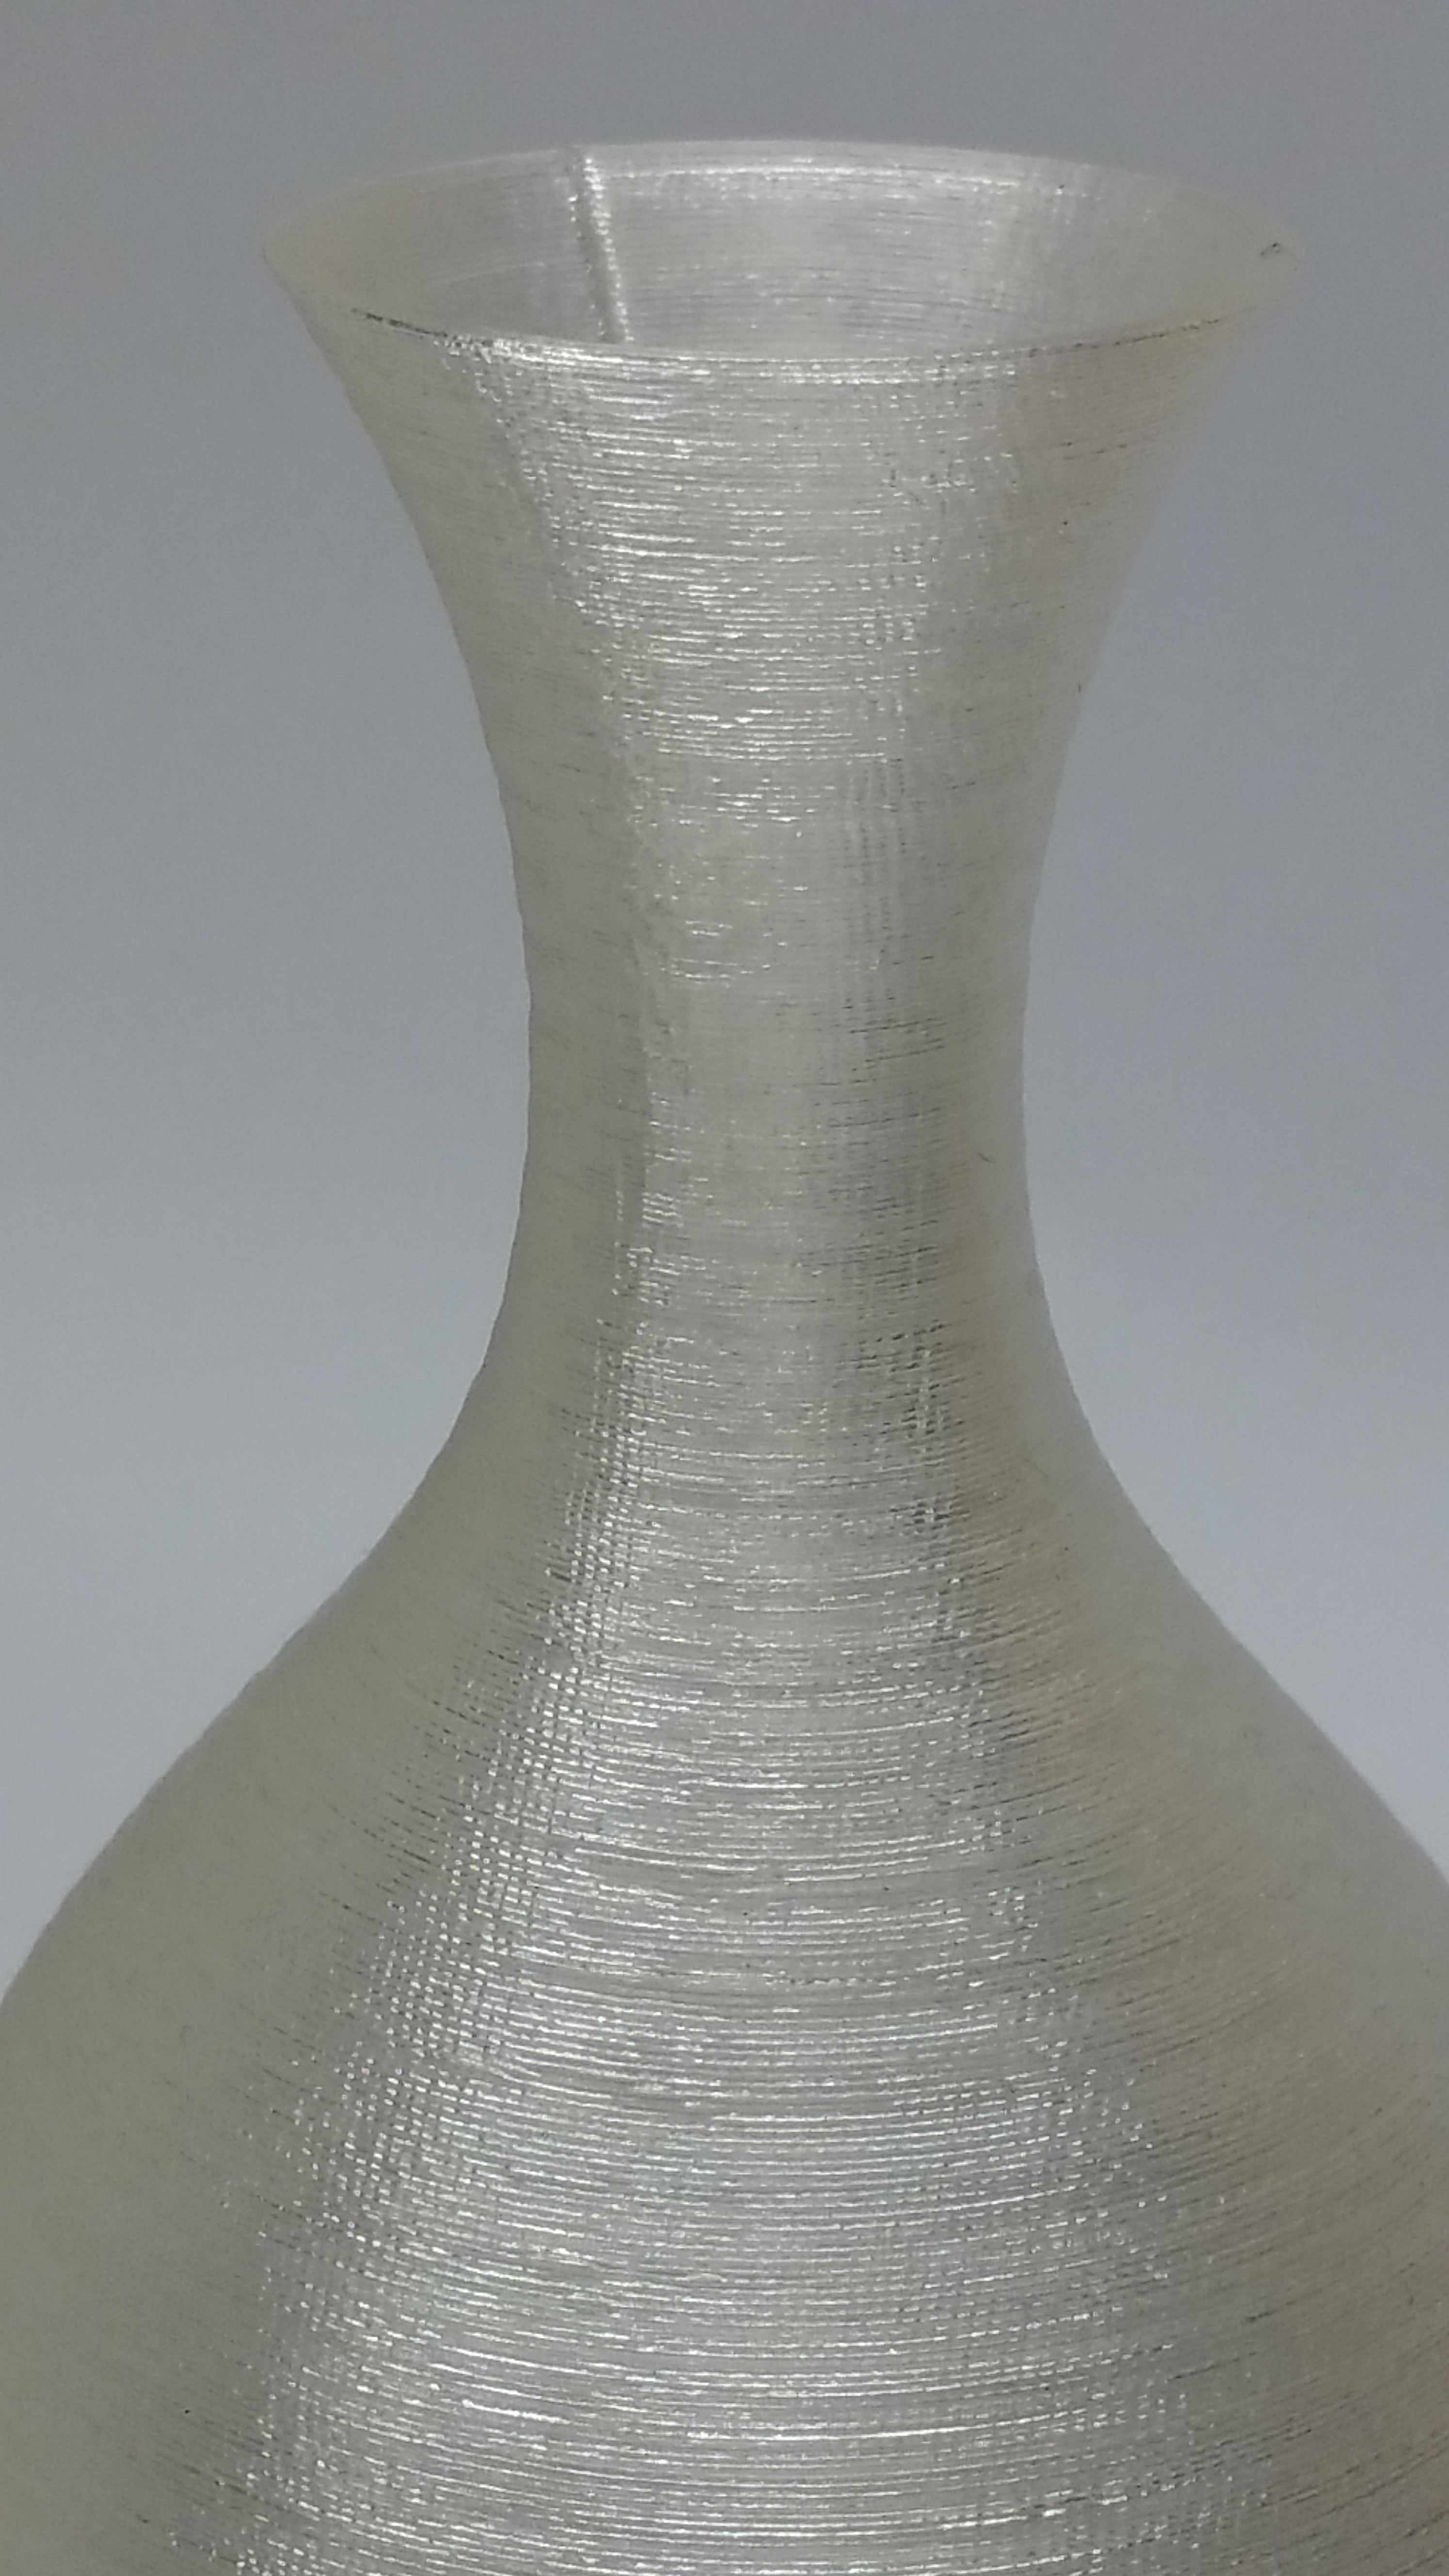
Black PLA/PHA:
Printed on Lulzbot Mini:
230º print head temp / 65º Bed temp
I again tried free extruding 40-50mm and ran into the same puffing/swelling issue. I again ran through some other temperatures and extrusion speeds to see if I could remedy this but I was still measuring ~1mm once the extruded filament cooled.
I went ahead again with the print and the results were improved over the White PLA/PHA. Layer striations weren’t as bad and overhang quality improved for my first print with this filament.
Bed adhesion with the Black PLA/PHA was good. No issues.
Id like to thank MeltInk again for the opportunity. Filament sample packaging was very nice and the suggested temperature cards included were large, bold and very clear. A plus in my books.
I am wondering if anyone may have run into this same issue with the swelling/puffing. Is this typical of PHA?
p.s. MeltInk, if you have any further questions, feel free to contact me. Id like to see what can be suggested on the swelling/puffing issue before I make a final judgement on the White & Black.


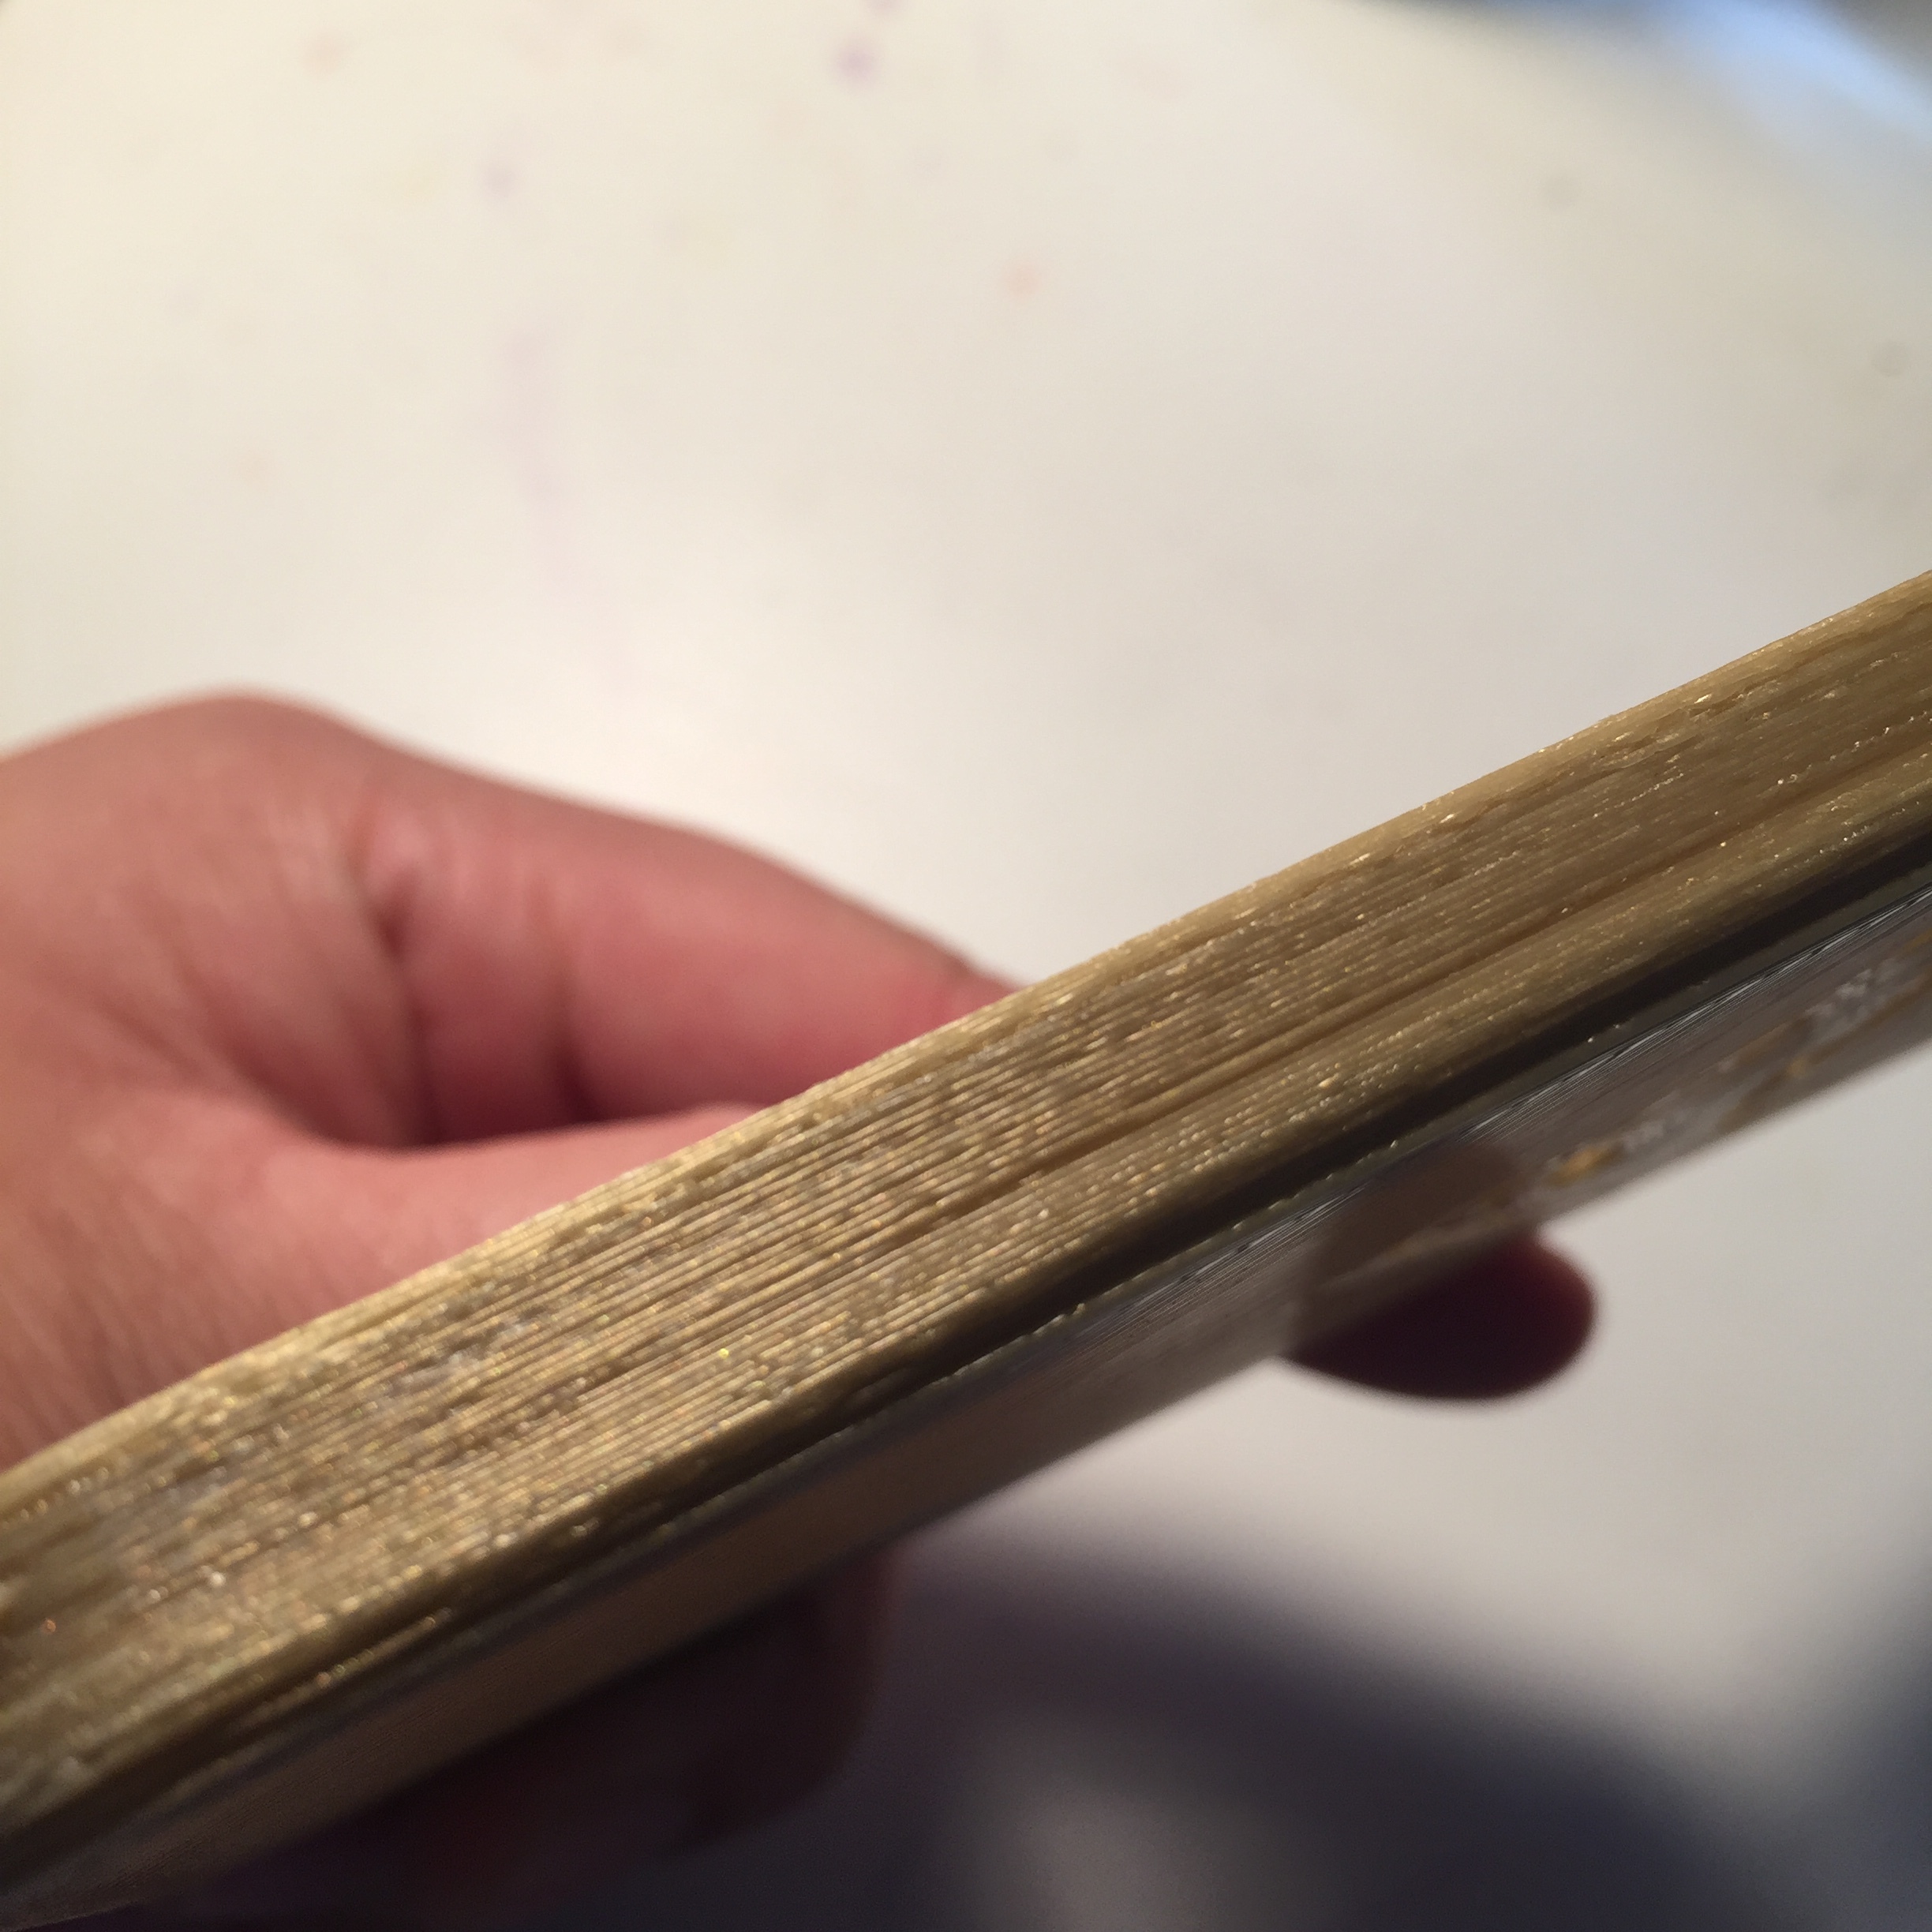


 When I moved my extruder about 200mm off the build platform and free extrude some filament it came out of the .5mm nozzle and puffed out to about 1.1mm or so. It still printed alright I just hadn’t experienced that before. I will have to try an even wider range of temps